Model Context Protocol (MCP) finally gives AI models a way to access the business data needed to make them really useful at work. CData MCP Servers have the depth and performance to make sure AI has access to all of the answers.
Try them now for free →Use the API Server and Databricks ADO.NET Provider to Access Databricks Data in Microsoft PowerPivot
Use the API Server to connect to live Databricks data in the PowerPivot business intelligence tool.
This article will explain how to use the API Server and the ADO.NET Provider for Databricks (or any of 200+ other ADO.NET Providers) to provide Databricks data as OData services and then consume the data in Microsoft Excel's PowerPivot business intelligence tool. Follow the steps below to retrieve and edit Databricks data in Power Pivot.
About Databricks Data Integration
Accessing and integrating live data from Databricks has never been easier with CData. Customers rely on CData connectivity to:
- Access all versions of Databricks from Runtime Versions 9.1 - 13.X to both the Pro and Classic Databricks SQL versions.
- Leave Databricks in their preferred environment thanks to compatibility with any hosting solution.
- Secure authenticate in a variety of ways, including personal access token, Azure Service Principal, and Azure AD.
- Upload data to Databricks using Databricks File System, Azure Blog Storage, and AWS S3 Storage.
While many customers are using CData's solutions to migrate data from different systems into their Databricks data lakehouse, several customers use our live connectivity solutions to federate connectivity between their databases and Databricks. These customers are using SQL Server Linked Servers or Polybase to get live access to Databricks from within their existing RDBMs.
Read more about common Databricks use-cases and how CData's solutions help solve data problems in our blog: What is Databricks Used For? 6 Use Cases.
Getting Started
Set Up the API Server
Follow the steps below to begin producing secure Databricks OData services:
Deploy
The API Server runs on your own server. On Windows, you can deploy using the stand-alone server or IIS. On a Java servlet container, drop in the API Server WAR file. See the help documentation for more information and how-tos.
The API Server is also easy to deploy on Microsoft Azure, Amazon EC2, and Heroku.
Connect to Databricks
After you deploy the API Server and the ADO.NET Provider for Databricks, provide authentication values and other connection properties needed to connect to Databricks by clicking Settings -> Connections and adding a new connection in the API Server administration console.
To connect to a Databricks cluster, set the properties as described below.
Note: The needed values can be found in your Databricks instance by navigating to Clusters, and selecting the desired cluster, and selecting the JDBC/ODBC tab under Advanced Options.
- Server: Set to the Server Hostname of your Databricks cluster.
- HTTPPath: Set to the HTTP Path of your Databricks cluster.
- Token: Set to your personal access token (this value can be obtained by navigating to the User Settings page of your Databricks instance and selecting the Access Tokens tab).
You can then choose the Databricks entities you want to allow the API Server access to by clicking Settings -> Resources.
Additionally, click Settings -> Server and set the Default Format to XML (Atom) for compatibility with Excel.
Authorize API Server Users
After determining the OData services you want to produce, authorize users by clicking Settings -> Users. The API Server uses authtoken-based authentication and supports the major authentication schemes. Access can also be restricted based on IP address; by default, only connections to the local machine are allowed. You can authenticate as well as encrypt connections with SSL.
Import Databricks Tables in Power Pivot
Follow the steps below to import tables that can be refreshed on demand:
- In Excel, click the PowerPivot Window icon in the PowerPivot tab to open PowerPivot.
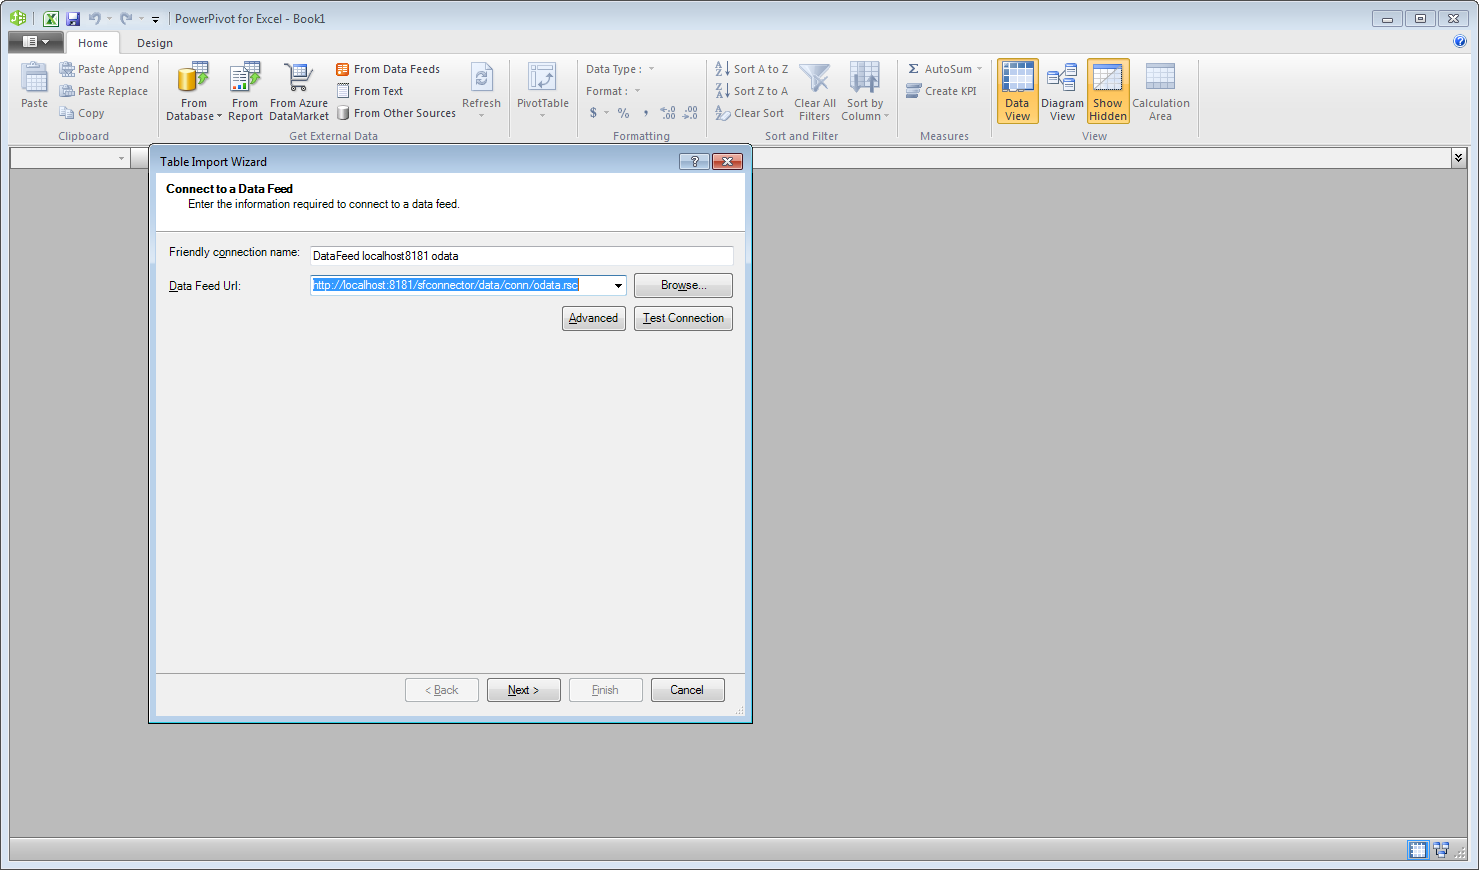
- Click Home -> Get External Data -> From Data Service -> From OData Data Feed.
-
Add authentication parameters. Click Advanced and set the Integrated Security option to Basic. You will need to enter the User Id and Password of a user who has access to the CData API Server. Set the password to the user's authtoken.
-
In the Base URL box, enter the OData URL of the CData API Server. For example, http://localhost:8032/api.rsc.

-
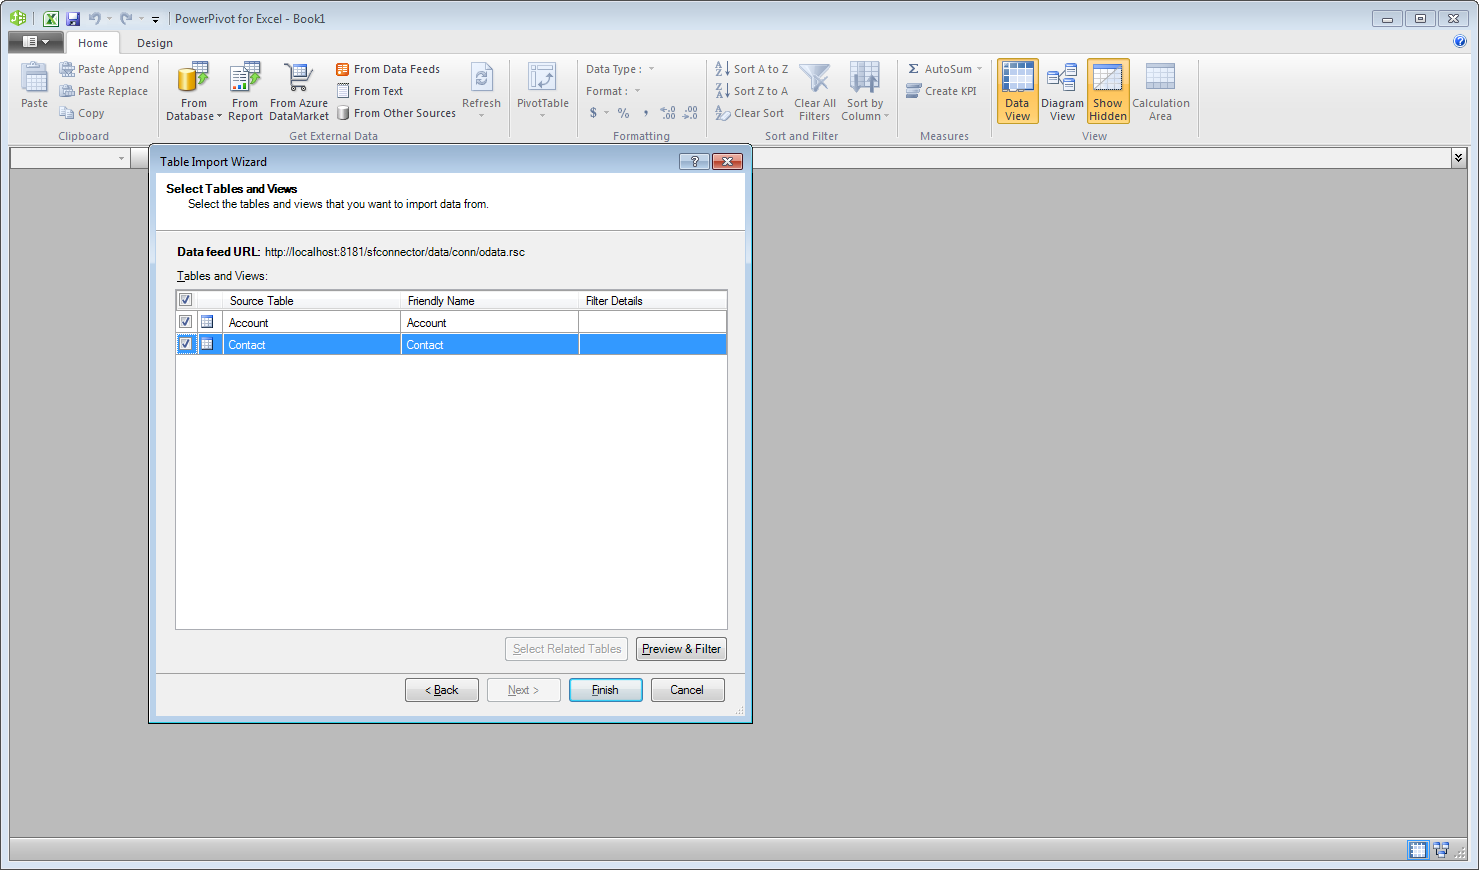
Select which tables you want to import and click Finish.

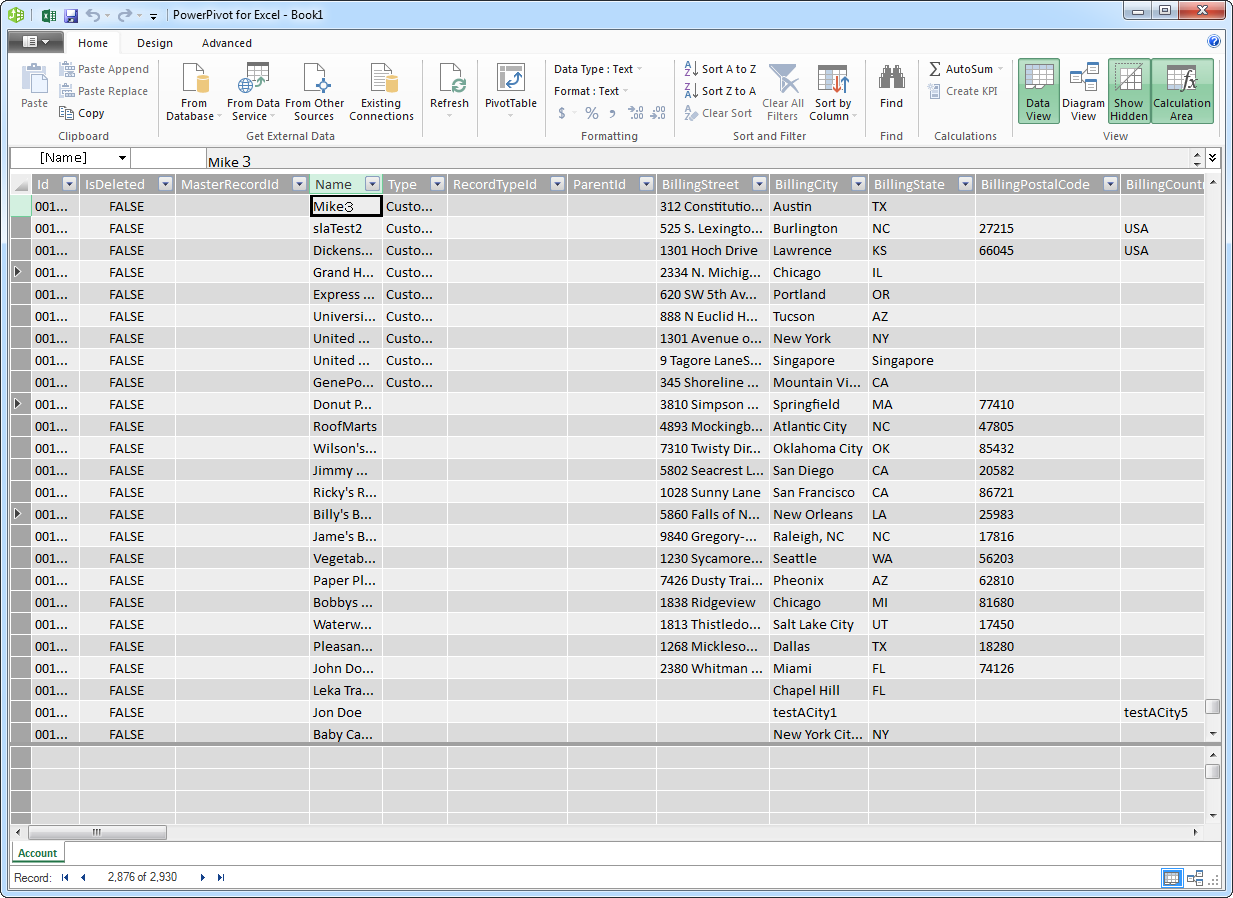
You can now work with Databricks data in Power Pivot.

