Model Context Protocol (MCP) finally gives AI models a way to access the business data needed to make them really useful at work. CData MCP Servers have the depth and performance to make sure AI has access to all of the answers.
Try them now for free →Build Dashboards with Databricks Data in Dundas BI
Create dynamic dashboards and perform analytics based on Databricks data in Dundas BI.
The CData ODBC Driver for Databricks enables access to live data from Databricks under the ODBC standard, allowing you work with Databricks data in a wide variety of BI, reporting, and ETL tools and directly, using familiar SQL queries. This article shows how to connect to Databricks data as a generic ODBC Data Provider and create charts, reports, and dashboards based on Databricks data in Dundas BI.
About Databricks Data Integration
Accessing and integrating live data from Databricks has never been easier with CData. Customers rely on CData connectivity to:
- Access all versions of Databricks from Runtime Versions 9.1 - 13.X to both the Pro and Classic Databricks SQL versions.
- Leave Databricks in their preferred environment thanks to compatibility with any hosting solution.
- Secure authenticate in a variety of ways, including personal access token, Azure Service Principal, and Azure AD.
- Upload data to Databricks using Databricks File System, Azure Blog Storage, and AWS S3 Storage.
While many customers are using CData's solutions to migrate data from different systems into their Databricks data lakehouse, several customers use our live connectivity solutions to federate connectivity between their databases and Databricks. These customers are using SQL Server Linked Servers or Polybase to get live access to Databricks from within their existing RDBMs.
Read more about common Databricks use-cases and how CData's solutions help solve data problems in our blog: What is Databricks Used For? 6 Use Cases.
Getting Started
Connect to Databricks Data
- If you have not already done so, provide values for the required connection properties in the data source name (DSN). You can configure the DSN using the built-in Microsoft ODBC Data Source Administrator. This is also the last step of the driver installation. See the "Getting Started" chapter in the Help documentation for a guide to using the Microsoft ODBC Data Source Administrator to create and configure a DSN.
To connect to a Databricks cluster, set the properties as described below.
Note: The needed values can be found in your Databricks instance by navigating to Clusters, and selecting the desired cluster, and selecting the JDBC/ODBC tab under Advanced Options.
- Server: Set to the Server Hostname of your Databricks cluster.
- HTTPPath: Set to the HTTP Path of your Databricks cluster.
- Token: Set to your personal access token (this value can be obtained by navigating to the User Settings page of your Databricks instance and selecting the Access Tokens tab).
When you configure the DSN, you may also want to set the Max Rows connection property. This will limit the number of rows returned, which is especially helpful for improving performance when designing reports and visualizations.
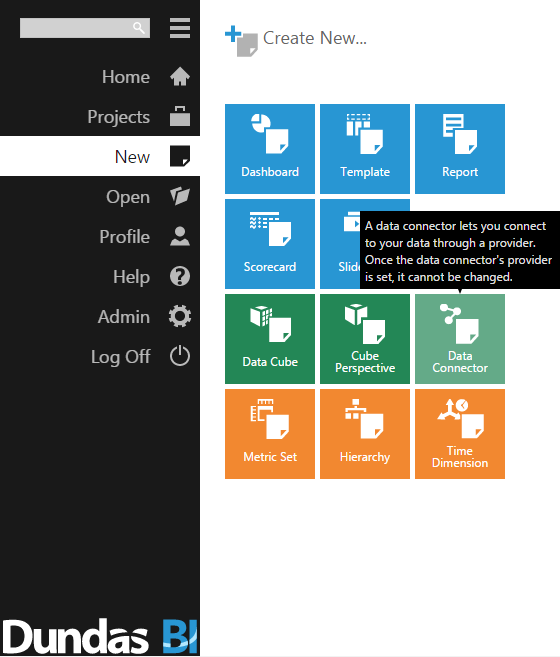
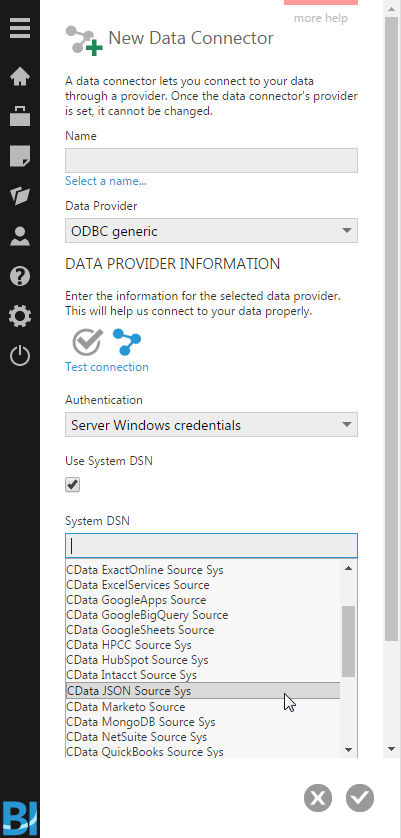
- Open the Dundas BI interface, open the menu, and click New Data Connector.
![Adding a New Data Connector.]()
- Configure the Dundas BI Data Connector:
- Name the Data Connector.
- Select "ODBC generic" as the Data Provider.
- Check the "Use System DSN" checkbox.
- Select the appropriate System DSN.
![Configure the Data Connector.]()
Add Databricks Data to a Dashboard
You are now ready to create a dashboard with Databricks data.
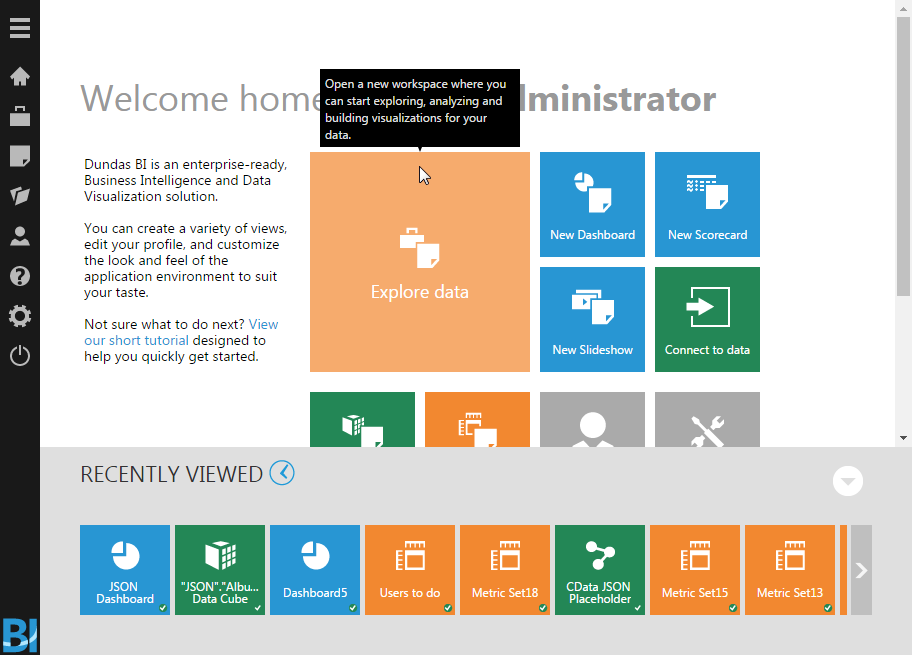
- Navigate to the Home page.
- Click Explore Data.
- Expand the appropriate Data Connector.
- Drag the relevant data from the Connector to the panel.
- You can select an entire "table" to add, but you may need to remove Measures/Rows from the Metric Set to build an appropriate visualization. Alternatively, you can select only the fields you wish to include in the visualization.
- With the fields selected, you can add any filters or conditions on the Measures and Rows, further customizing the visualization.
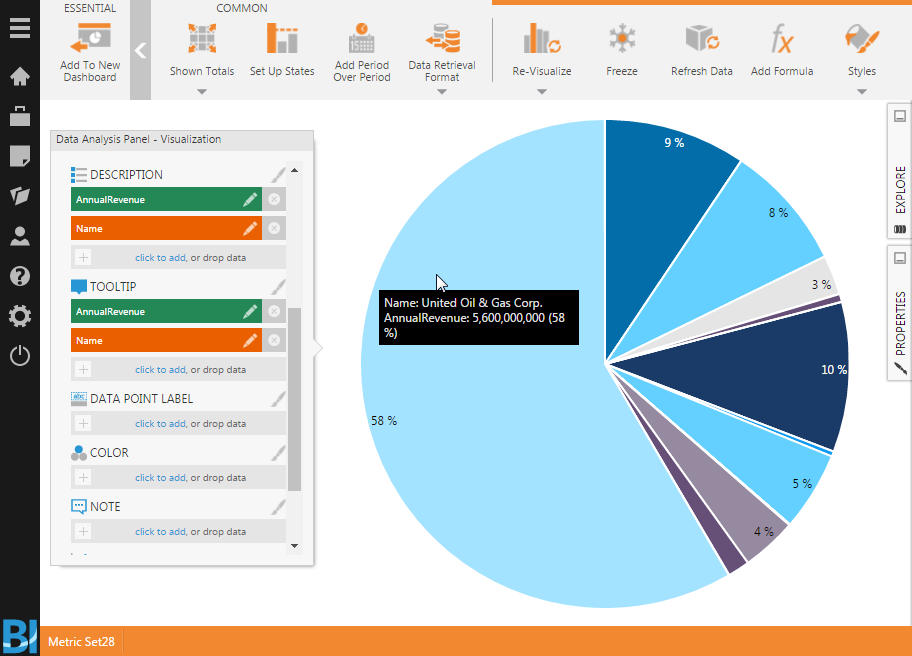
- Click Re-visualize from the menu bar and select the appropriate visualization for the data.
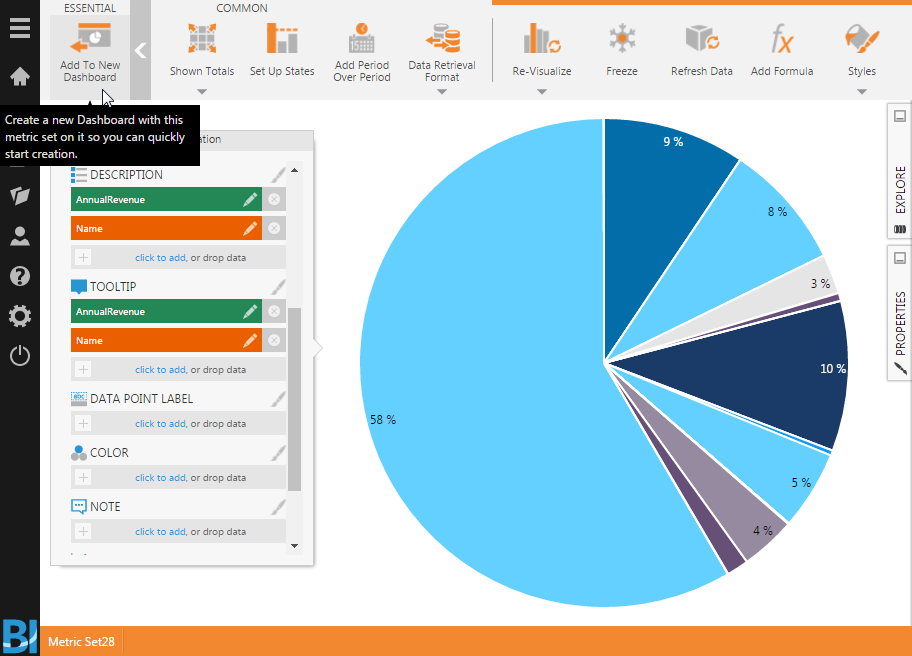
- Click Add To New Dashboard to add the visualization to a new dashboard.
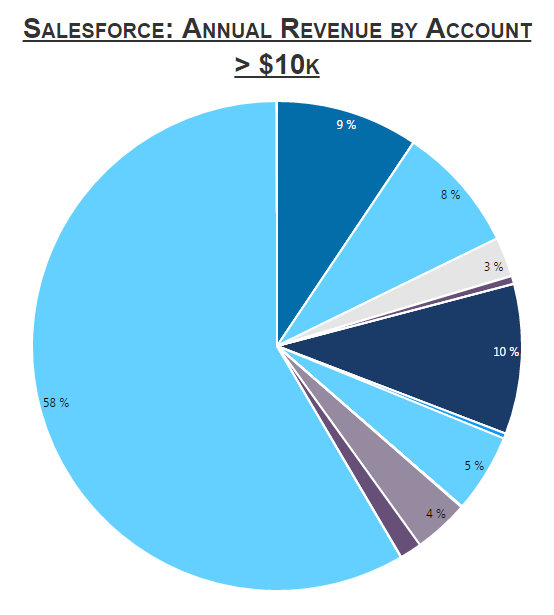
- Configure the dashboard, creating dynamic visualizations of Databricks data.
![Sample Dashboard (Salesforce data is shown.)]()
