Model Context Protocol (MCP) finally gives AI models a way to access the business data needed to make them really useful at work. CData MCP Servers have the depth and performance to make sure AI has access to all of the answers.
Try them now for free →Back Up Microsoft Dataverse data to SQL Server through SSIS
Effortlessly backup data to SQL Server by utilizing the CData ADO.NET Provider for Microsoft Dataverse. In this article, we will employ an SSIS workflow to populate a database with Microsoft Dataverse data data.
This article illustrates using the Microsoft Dataverse ADO.NET Data Provider within a SQL Server SSIS workflow for the direct transfer of Microsoft Dataverse data to a Microsoft SQL Server database. It's worth noting that the identical process detailed below is applicable to any CData ADO.NET Data Providers, enabling the direct connection of SQL Server with remote data through SSIS.
About Microsoft Dataverse Data Integration
CData provides the easiest way to access and integrate live data from Microsoft Dataverse (formerly the Common Data Service). Customers use CData connectivity to:
- Access both Dataverse Entities and Dataverse system tables to work with exactly the data they need.
- Authenticate securely with Microsoft Dataverse in a variety of ways, including Azure Active Directory, Azure Managed Service Identity credentials, and Azure Service Principal using either a client secret or a certificate.
- Use SQL stored procedures to manage Microsoft Dataverse entities - listing, creating, and removing associations between entities.
CData customers use our Dataverse connectivity solutions for a variety of reasons, whether they're looking to replicate their data into a data warehouse (alongside other data sources)or analyze live Dataverse data from their preferred data tools inside the Microsoft ecosystem (Power BI, Excel, etc.) or with external tools (Tableau, Looker, etc.).
Getting Started
- Open Visual Studio and create a new Integration Services project.
- Add a new Data Flow task from the toolbox onto the Control Flow screen.
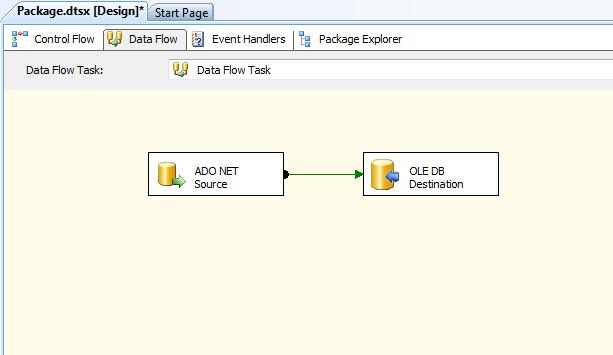
In the Data Flow screen, add an ADO.NET Source and an OLE DB Destination from the toolbox.
![The components used in the data task in this example.]()
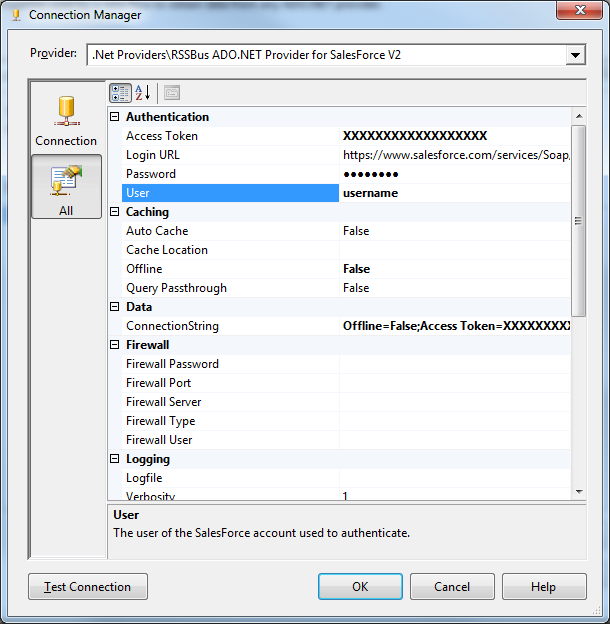
- Add a new connection and select .NET Providers\CData ADO.NET Provider for Microsoft Dataverse.
In the connection manager, enter the connection details for Microsoft Dataverse data.
You can connect without setting any connection properties for your user credentials. Below are the minimum connection properties required to connect.
- InitiateOAuth: Set this to GETANDREFRESH. You can use InitiateOAuth to avoid repeating the OAuth exchange and manually setting the OAuthAccessToken.
- OrganizationUrl: Set this to the organization URL you are connecting to, such as https://myorganization.crm.dynamics.com.
- Tenant (optional): Set this if you wish to authenticate to a different tenant than your default. This is required to work with an organization not on your default Tenant.
When you connect the Common Data Service OAuth endpoint opens in your default browser. Log in and grant permissions. The OAuth process completes automatically.
![Connection properties in the Connection Manager dialog. (Salesforce is shown.)]()
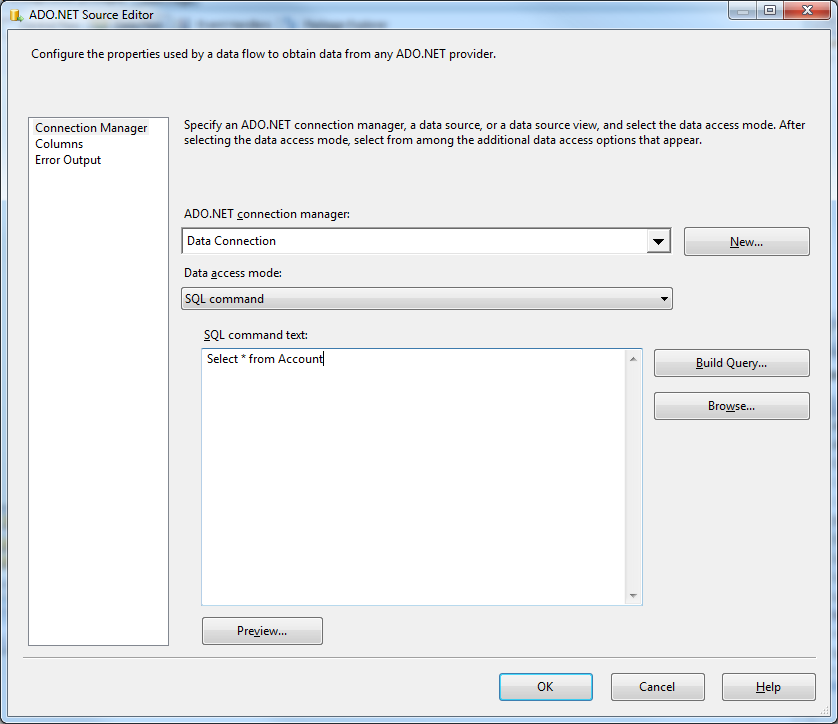
Open the DataReader editor and set the following information:
- ADO.NET connection manager: In the Connection Managers menu, select the Data Connection you just created.
- Data access mode: Select 'SQL command'.
- SQL command text: In the DataReader Source editor, open the Component Properties tab and enter a SELECT command, such as the one below:
SELECT AccountId, Name FROM Accounts WHERE Name = 'MyAccount'
![The connection and query specified in the source component properties. (Salesforce is shown.)]()
- Close the DataReader editor and drag the arrow below the DataReader Source to connect it to the OLE DB Destination.
Open the OLE DB Destination and enter the following information in the Destination Component Editor.
- Connection manager: Add a new connection. Enter your server and database information here. In this example, SQLExpress is running on a separate machine.
- Data access mode: Set your data access mode to "table or view" and select the table or view to populate in your database.
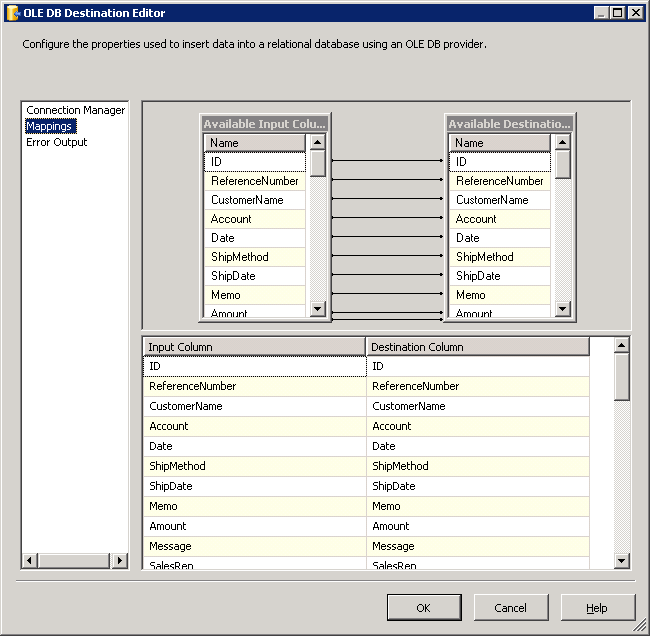
Configure any properties you wish on the Mappings screen.
![Input and destination columns in the OLE DB Destination Editor.]()
- Close the OLE DB Destination Editor and run the project. After the SSIS task has finished executing, your database will be populated with data obtained from Microsoft Dataverse data.


