Model Context Protocol (MCP) finally gives AI models a way to access the business data needed to make them really useful at work. CData MCP Servers have the depth and performance to make sure AI has access to all of the answers.
Try them now for free →Create Informatica Mappings From/To a JDBC Data Source for Microsoft Dataverse
Create Microsoft Dataverse data objects in Informatica using the standard JDBC connection process: Copy the JAR and then connect.
Informatica provides a powerful, elegant means of transporting and transforming your data. By utilizing the CData JDBC Driver for Microsoft Dataverse, you are gaining access to a driver based on industry-proven standards that integrates seamlessly with Informatica's powerful data transportation and manipulation features. This tutorial shows how to transfer and browse Microsoft Dataverse data in Informatica PowerCenter.
About Microsoft Dataverse Data Integration
CData provides the easiest way to access and integrate live data from Microsoft Dataverse (formerly the Common Data Service). Customers use CData connectivity to:
- Access both Dataverse Entities and Dataverse system tables to work with exactly the data they need.
- Authenticate securely with Microsoft Dataverse in a variety of ways, including Azure Active Directory, Azure Managed Service Identity credentials, and Azure Service Principal using either a client secret or a certificate.
- Use SQL stored procedures to manage Microsoft Dataverse entities - listing, creating, and removing associations between entities.
CData customers use our Dataverse connectivity solutions for a variety of reasons, whether they're looking to replicate their data into a data warehouse (alongside other data sources)or analyze live Dataverse data from their preferred data tools inside the Microsoft ecosystem (Power BI, Excel, etc.) or with external tools (Tableau, Looker, etc.).
Getting Started
Deploy the Driver
To deploy the driver to the Informatica PowerCenter server, copy the CData JAR and .lic file, located in the lib subfolder in the installation directory, to the following folder: Informatica-installation-directory\services\shared\jars\thirdparty.
To work with Microsoft Dataverse data in the Developer tool, you will need to copy the CData JAR and .lic file, located in the lib subfolder in the installation directory, into the following folders:
- Informatica-installation-directory\client\externaljdbcjars
- Informatica-installation-directory\externaljdbcjars
Create the JDBC Connection
Follow the steps below to connect from Informatica Developer:
- In the Connection Explorer pane, right-click your domain and click Create a Connection.
- In the New Database Connection wizard that is displayed, enter a name and Id for the connection and in the Type menu select JDBC.
- In the JDBC Driver Class Name property, enter:
cdata.jdbc.cds.CDSDriver - In the Connection String property, enter the JDBC URL, using the connection properties for Microsoft Dataverse.
You can connect without setting any connection properties for your user credentials. Below are the minimum connection properties required to connect.
- InitiateOAuth: Set this to GETANDREFRESH. You can use InitiateOAuth to avoid repeating the OAuth exchange and manually setting the OAuthAccessToken.
- OrganizationUrl: Set this to the organization URL you are connecting to, such as https://myorganization.crm.dynamics.com.
- Tenant (optional): Set this if you wish to authenticate to a different tenant than your default. This is required to work with an organization not on your default Tenant.
When you connect the Common Data Service OAuth endpoint opens in your default browser. Log in and grant permissions. The OAuth process completes automatically.
Built-in Connection String Designer
For assistance in constructing the JDBC URL, use the connection string designer built into the Microsoft Dataverse JDBC Driver. Either double-click the JAR file or execute the jar file from the command-line.
java -jar cdata.jdbc.cds.jarFill in the connection properties and copy the connection string to the clipboard.
![Using the built-in connection string designer to generate a JDBC URL (Salesforce is shown.)]()
A typical connection string is below:
jdbc:cds:OrganizationUrl=https://myaccount.crm.dynamics.com/InitiateOAuth=GETANDREFRESH
Browse Microsoft Dataverse Tables
After you have added the driver JAR to the classpath and created a JDBC connection, you can now access Microsoft Dataverse entities in Informatica. Follow the steps below to connect to Microsoft Dataverse and browse Microsoft Dataverse tables:
- Connect to your repository.
- In the Connection Explorer, right-click the connection and click Connect.
- Clear the Show Default Schema Only option.
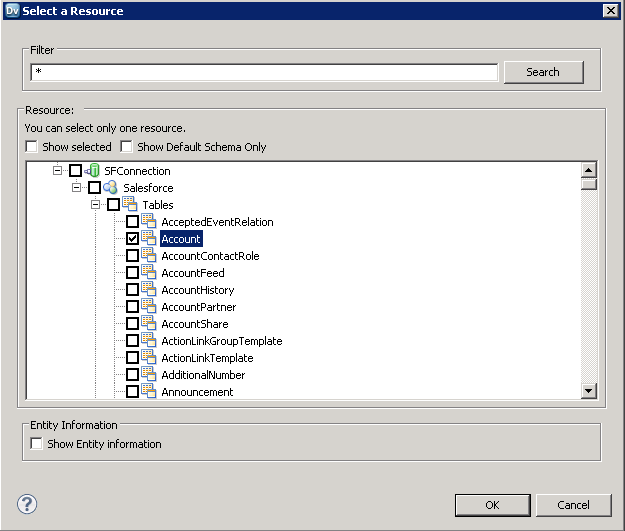
![The driver models Microsoft Dataverse entities as relational tables. (Salesforce is shown.)]()
You can now browse Microsoft Dataverse tables in the Data Viewer: Right-click the node for the table and then click Open. On the Data Viewer view, click Run.

Create Microsoft Dataverse Data Objects
Follow the steps below to add Microsoft Dataverse tables to your project:
- Select tables in Microsoft Dataverse, then right-click a table in Microsoft Dataverse, and click Add to Project.
- In the resulting dialog, select the option to create a data object for each resource.
- In the Select Location dialog, select your project.
Create a Mapping
Follow the steps below to add the Microsoft Dataverse source to a mapping:
- In the Object Explorer, right-click your project and then click New -> Mapping.
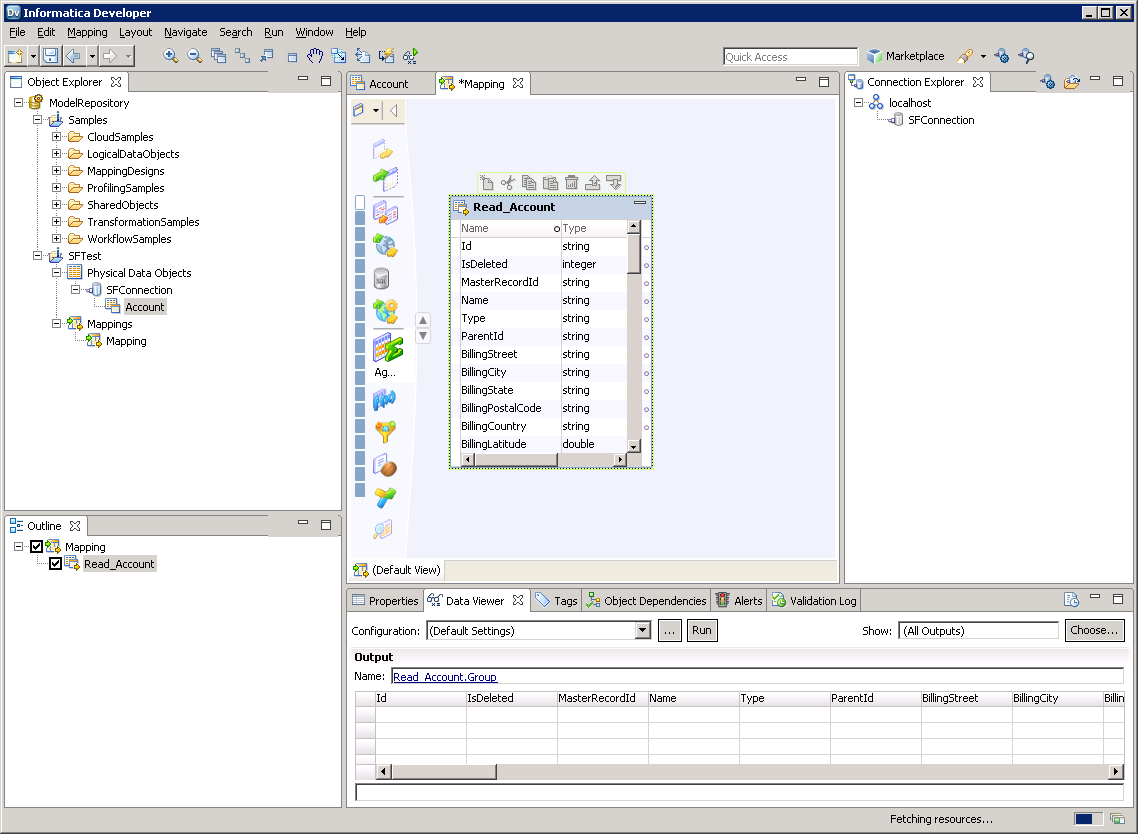
- Expand the node for the Microsoft Dataverse connection and then drag the data object for the table onto the editor.
- In the dialog that appears, select the Read option.
![The source Microsoft Dataverse table in the mapping. (Salesforce is shown.)]()
Follow the steps below to map Microsoft Dataverse columns to a flat file:
- In the Object Explorer, right-click your project and then click New -> Data Object.
- Select Flat File Data Object -> Create as Empty -> Fixed Width.
- In the properties for the Microsoft Dataverse object, select the rows you want, right-click, and then click copy. Paste the rows into the flat file properties.
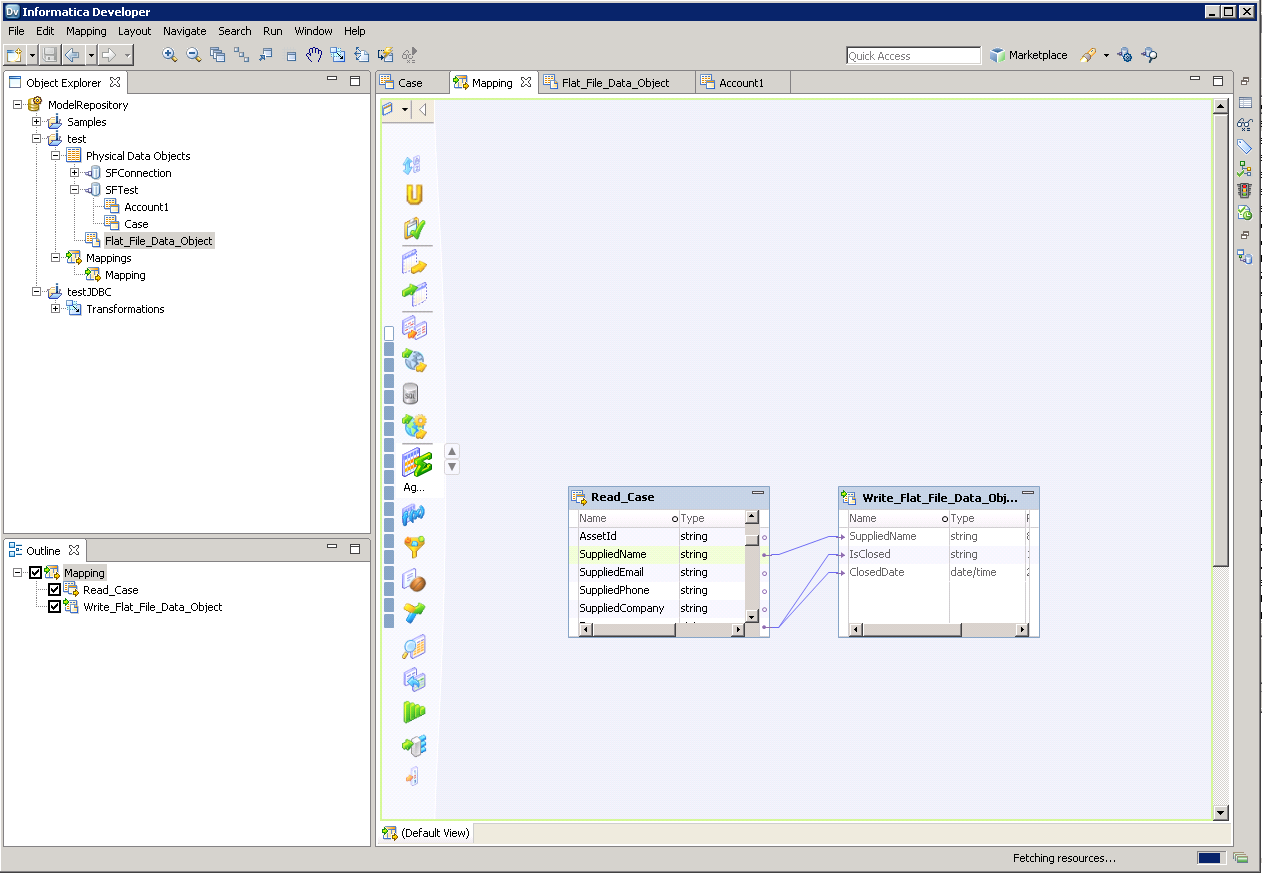
- Drag the flat file data object onto the mapping. In the dialog that appears, select the Write option.
- Click and drag to connect columns.
To transfer Microsoft Dataverse data, right-click in the workspace and then click Run Mapping.
![The completed mapping. (Salesforce is shown.)]()


