Model Context Protocol (MCP) finally gives AI models a way to access the business data needed to make them really useful at work. CData MCP Servers have the depth and performance to make sure AI has access to all of the answers.
Try them now for free →Import and Visualize Microsoft Dataverse Data in Power View
Create data visualizations based on Microsoft Dataverse data in Excel.
NOTE: For Excel for the web (Excel 365) and Excel 2019 or higher, Power View is no longer supported. Microsoft encourages the use of Power BI for those users. Please read our article on working with Microsoft Dataverse in Power BI using our Power BI connector for more information.
You can use the built-in ODBC support in Excel to rapidly create Power View reports featuring Microsoft Dataverse data. This article shows how to use the Data Connection Wizard, accessible from the Data ribbon, to import Microsoft Dataverse data into a Power View report.
Connect to Microsoft Dataverse as an ODBC Data Source
If you have not already, first specify connection properties in an ODBC DSN (data source name). This is the last step of the driver installation. You can use the Microsoft ODBC Data Source Administrator to create and configure ODBC DSNs.
You can connect without setting any connection properties for your user credentials. Below are the minimum connection properties required to connect.
- InitiateOAuth: Set this to GETANDREFRESH. You can use InitiateOAuth to avoid repeating the OAuth exchange and manually setting the OAuthAccessToken.
- OrganizationUrl: Set this to the organization URL you are connecting to, such as https://myorganization.crm.dynamics.com.
- Tenant (optional): Set this if you wish to authenticate to a different tenant than your default. This is required to work with an organization not on your default Tenant.
When you connect the Common Data Service OAuth endpoint opens in your default browser. Log in and grant permissions. The OAuth process completes automatically.
When you configure the DSN, you may also want to set the Max Rows connection property. This will limit the number of rows returned, which is especially helpful for improving performance when designing reports and visualizations.
About Microsoft Dataverse Data Integration
CData provides the easiest way to access and integrate live data from Microsoft Dataverse (formerly the Common Data Service). Customers use CData connectivity to:
- Access both Dataverse Entities and Dataverse system tables to work with exactly the data they need.
- Authenticate securely with Microsoft Dataverse in a variety of ways, including Azure Active Directory, Azure Managed Service Identity credentials, and Azure Service Principal using either a client secret or a certificate.
- Use SQL stored procedures to manage Microsoft Dataverse entities - listing, creating, and removing associations between entities.
CData customers use our Dataverse connectivity solutions for a variety of reasons, whether they're looking to replicate their data into a data warehouse (alongside other data sources)or analyze live Dataverse data from their preferred data tools inside the Microsoft ecosystem (Power BI, Excel, etc.) or with external tools (Tableau, Looker, etc.).
Getting Started
Connect with the Data Connection Wizard
Follow the steps below to connect to the DSN from the Data Connection Wizard in Excel.
- In recent versions of Excel the Data Connection Wizard is not visible by default. To enable the Data Connection Wizard in Excel, go to File -> Options -> Data and under Show legacy data import wizards check the From Data Connection Wizard (Legacy).
- After enabling the Data Connection Wizard, on the Data tab you can click Get Data -> Legacy Wizards -> From Data Connection Wizard (Legacy).
- In the Data Connection Wizard, select the ODBC DSN option.
- Select the ODBC DSN for Microsoft Dataverse from the list.
Select the tables you want to work with.
If you want to import multiple tables, deselect the "Connect to a specific table" option. After you connect to the data source, you can select multiple tables: After you click Finish to close the Data Connection Wizard, select the "Enable selection of multiple tables" option in the Select Table dialog.
- In the Import Data dialog, select the destination for your data. For example, select the Table option and the Existing worksheet option. Then click the cell in your worksheet where results should be output.
- Click Insert -> Power View to create a new Power View report.
Create a Table
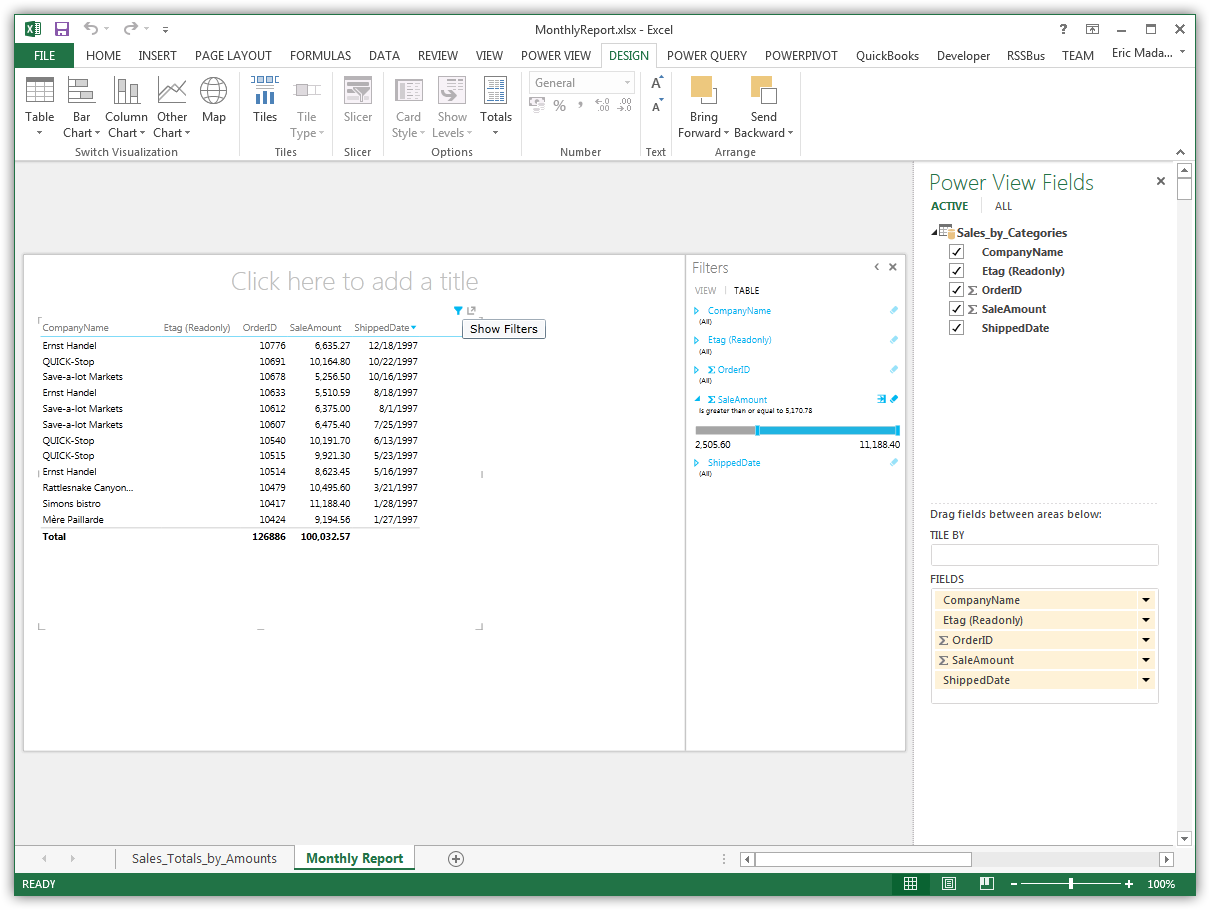
Tables are the starting point for charts and other representations of your data. To create a table, select a column in the field list. You can also drag and drop table names and column names onto the view.

Create Data Visualizations
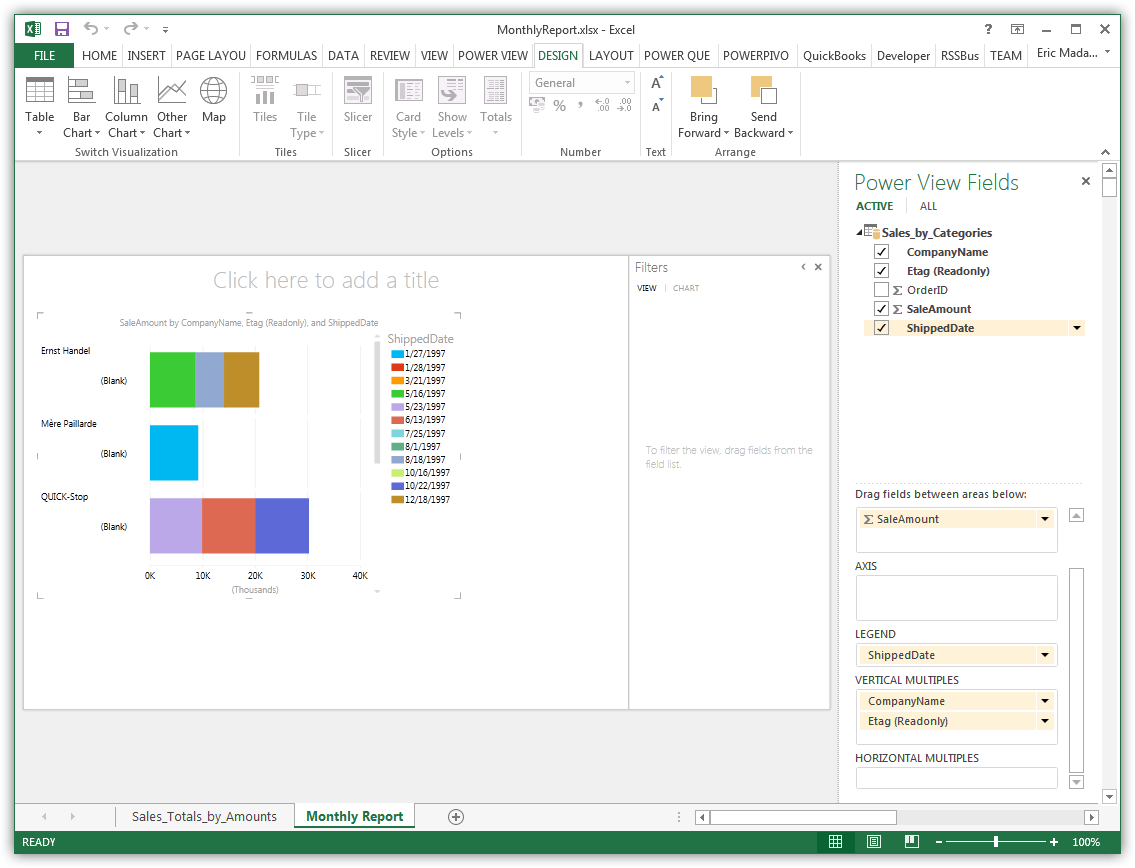
On the Design tab, you can change tables into charts and other visualizations.


