Model Context Protocol (MCP) finally gives AI models a way to access the business data needed to make them really useful at work. CData MCP Servers have the depth and performance to make sure AI has access to all of the answers.
Try them now for free →Access FHIR Data as OData Feeds in Tableau
Use the Tableau Desktop business intelligence tool to connect to FHIR data using the API Server.
The CData API Server, when paired with the ADO.NET Provider for FHIR (or any of 200+ other ADO.NET Providers), provides FHIR data as OData Web services. This article will explain how to use the API Server to provide the underlying connectivity to FHIR data in Tableau's business intelligence tool.
Set Up the API Server
Follow the steps below to begin producing secure FHIR OData services:
Deploy
The API Server runs on your own server. On Windows, you can deploy using the stand-alone server or IIS. On a Java servlet container, drop in the API Server WAR file. See the help documentation for more information and how-tos.
The API Server is also easy to deploy on Microsoft Azure, Amazon EC2, and Heroku.
Connect to FHIR
After you deploy the API Server and the ADO.NET Provider for FHIR, provide authentication values and other connection properties needed to connect to FHIR by clicking Settings -> Connections and adding a new connection in the API Server administration console.
Set URL to the Service Base URL of the FHIR server. This is the address where the resources are defined in the FHIR server you would like to connect to. Set ConnectionType to a supported connection type. Set ContentType to the format of your documents. Set AuthScheme based on the authentication requirements for your FHIR server.
Generic, Azure-based, AWS-based, and Google-based FHIR server implementations are supported.
Sample Service Base URLs
- Generic: http://my_fhir_server/r4b/
- Azure: https://MY_AZURE_FHIR.azurehealthcareapis.com/
- AWS: https://healthlake.REGION.amazonaws.com/datastore/DATASTORE_ID/r4/
- Google: https://healthcare.googleapis.com/v1/projects/PROJECT_ID/locations/LOCATION/datasets/DATASET_ID/fhirStores/FHIR_STORE_ID/fhir/
Generic FHIR Instances
The product supports connections to custom instances of FHIR. Authentication to custom FHIR servers is handled via OAuth (read more about OAuth in the Help documentation. Before you can connect to custom FHIR instances, you must set ConnectionType to Generic.
When you configure the connection, you may also want to set the Max Rows connection property. This will limit the number of rows returned, which is especially helpful for improving performance when designing reports and visualizations.
You can then choose the FHIR entities you want to allow the API Server to access by clicking Settings -> Resources.
Additionally, click Settings -> Server and set the Default Format to XML (Atom) for compatibility with Tableau.
Authorize API Server Users
After determining the OData services you want to produce, authorize users by clicking Settings -> Users. The API Server uses authtoken-based authentication and supports the major authentication schemes. Access can also be restricted based on IP address; by default only connections to the local machine are allowed. You can authenticate as well as encrypt connections with SSL.
Create Real-Time FHIR Data Visualizations
Follow the steps below to create data visualizations based on the remote FHIR data:
-
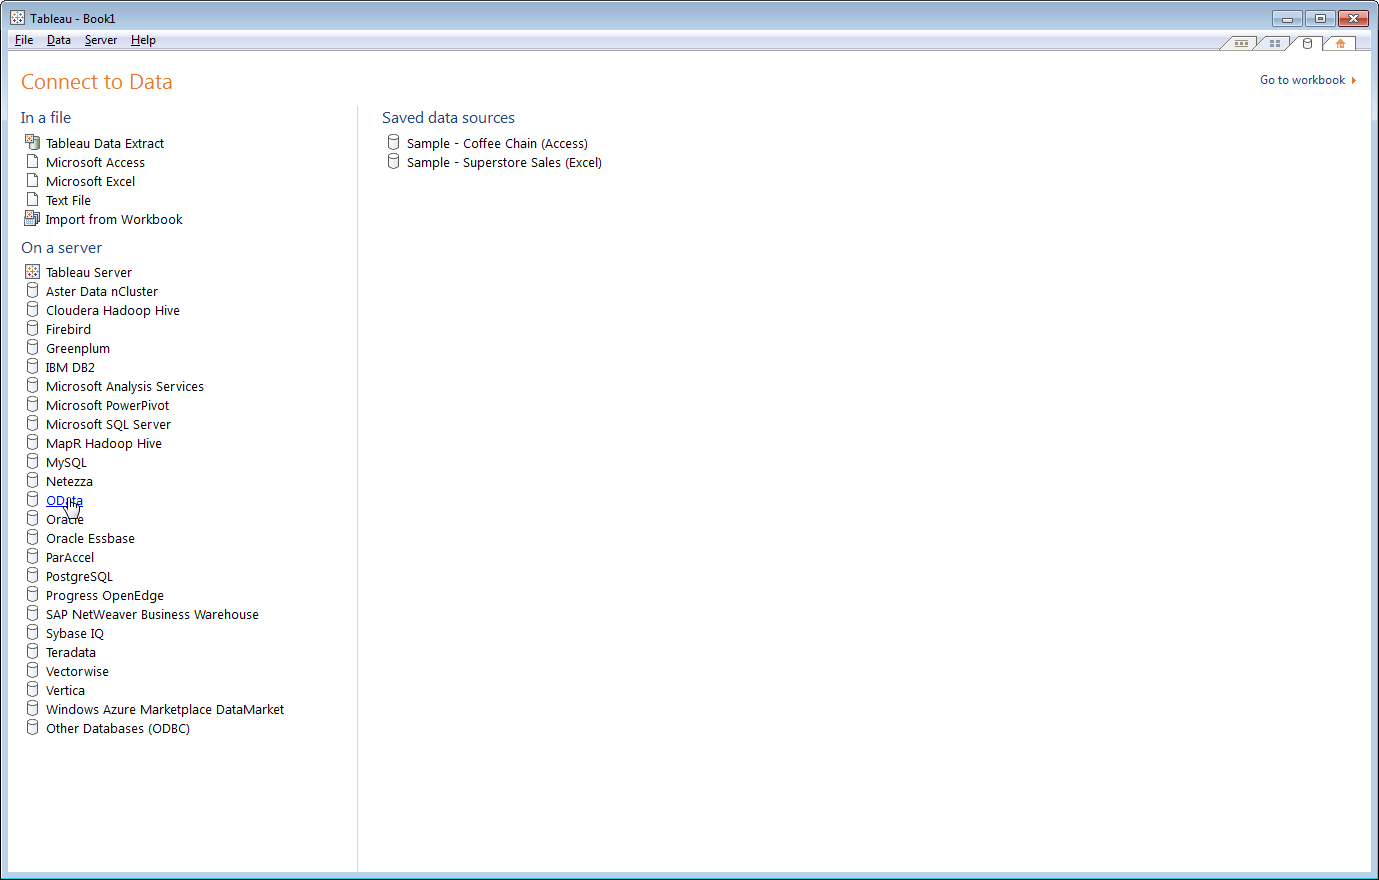
In Tableau, select 'Connect to data'. In the 'On a server' section, click OData.

-
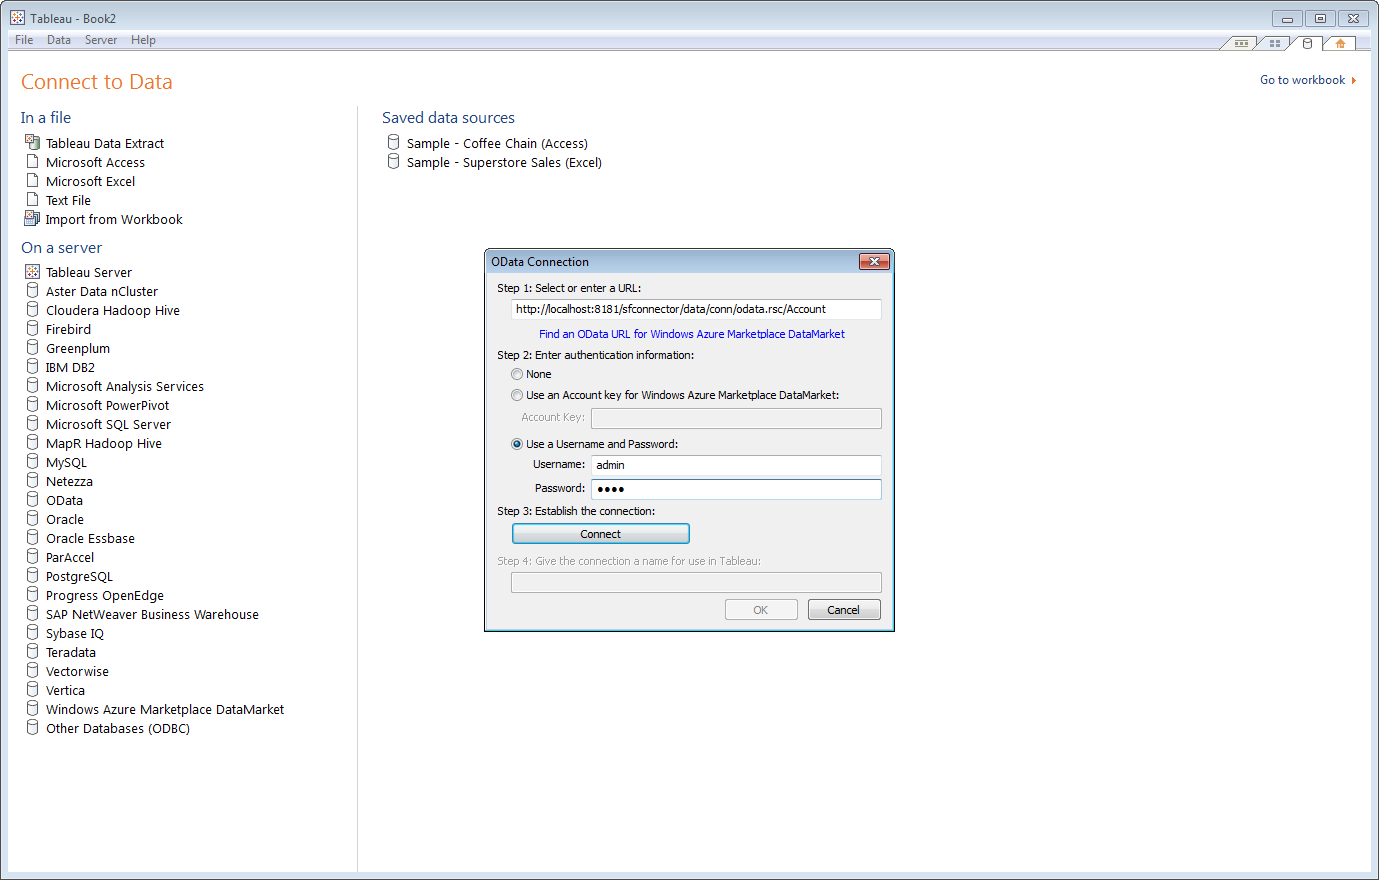
In the resulting wizard, enter the URL of the OData endpoint for the API Server. Append the name of the table you want to access to the OData entry URL. For example:
https://your-server/api.rsc/Patient -
Select the
'Use a Username and Password' option and enter the username and password of a user who has access to the API Server.

-
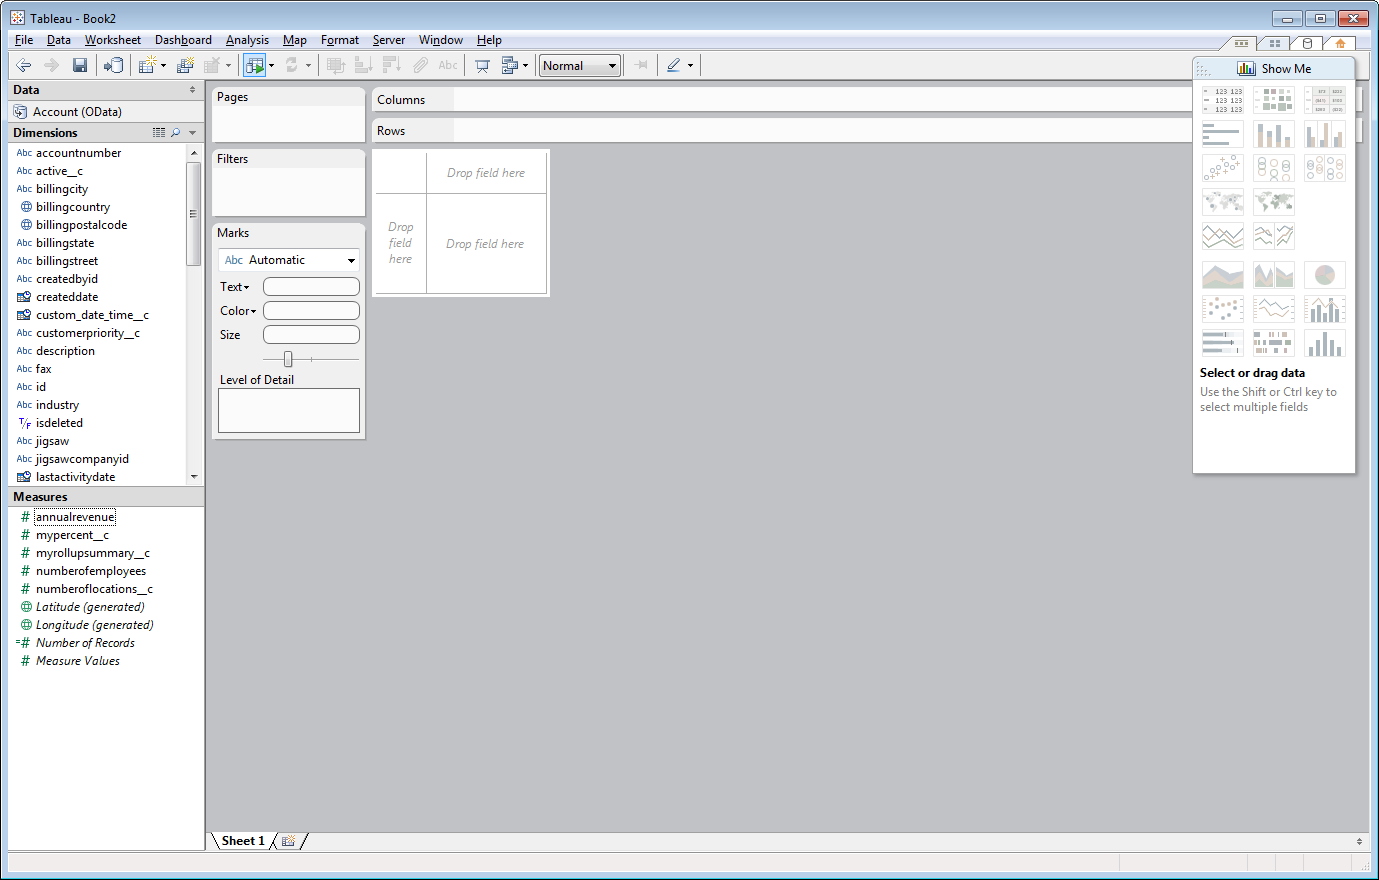
Tableau uses the table metadata exposed by the API Server to detect dimension and measure columns.

-
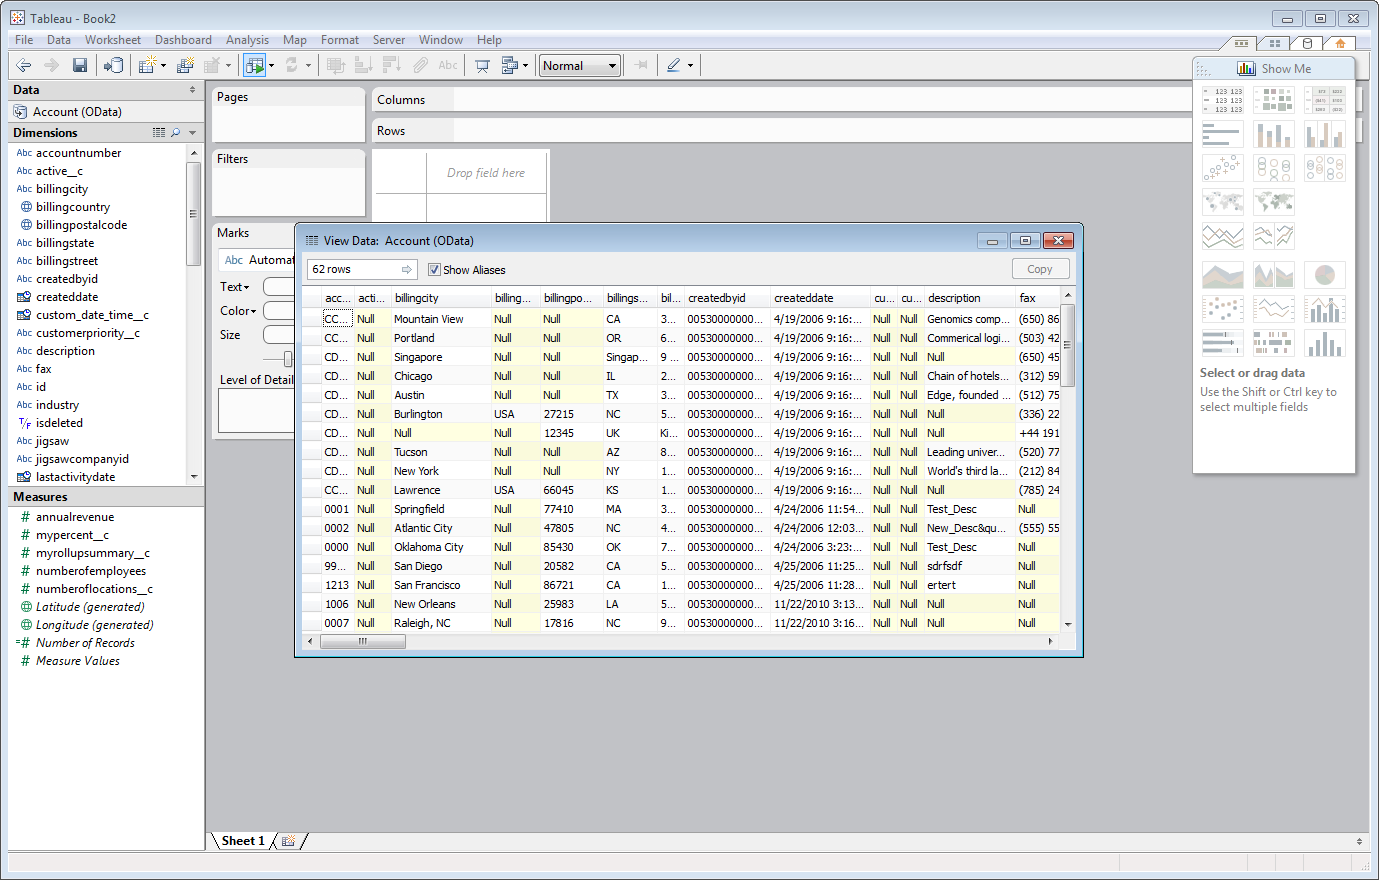
To view the FHIR data, right-click under the table name in the Data section of the dashboard and select the View Data option. The FHIR data will appear in Tableau.

