Model Context Protocol (MCP) finally gives AI models a way to access the business data needed to make them really useful at work. CData MCP Servers have the depth and performance to make sure AI has access to all of the answers.
Try them now for free →Easily Integrate HubDB Data in Lazarus Pascal IDE
Learn how to easily integrate live HubDB data in Lazarus Pascal IDE using the CData ODBC Driver for real-time insights.
Lazarus Pascal IDE is a powerful, free, open-source development environment for building cross-platform applications. With the CData ODBC Driver for HubDB, you can seamlessly integrate and query live HubDB data, bringing real-time insights within your Lazarus Pascal IDE applications to enhance reporting, dashboards, and workflows.
This guide provides a comprehensive walkthrough, from setting up the connection to leveraging live HubDB in Lazarus Pascal IDE. Whether you're building reports, dashboards, or complex workflows, you'll gain the tools to unlock real-time insights and functionality within your applications.
Overview
Here is an overview of the steps:
- Configure the DSN for HubDB data in the CData ODBC Driver for HubDB with the necessary connection properties.
- Set up the ODBC connection in Lazarus by configuring the TSQLConnector, TSQLQuery, TDataSource, and TDBGrid components with the required details.
- Test the connection to HubDB data by writing sample code on the Main form.
- Compile and run the application to verify the successful integration and display of live HubDB data.
Prerequisites
Before starting, ensure you have the following:
- Lazarus IDE (version 3.4 recommended). Download from here.
- CData ODBC Driver for HubDB. Download and try the latest version from here.
Configure the HubDB DSN Using the CData ODBC Driver
To start, configure the DSN (Data Source Name) for HubDB data in your system using the CData ODBC Driver for HubDB. Download and install a 30-day free trial with all the features from here.
Once installed, launch the ODBC Data Source Administrator:
- On Windows: Search for ODBC Data Source Administrator in the Start menu and open the application.
- On Mac: Open Applications, go to Utilities, and select ODBC Manager.
- On Linux: Use the command line to launch ODBC Data Source Administrator or use unixODBC if installed.
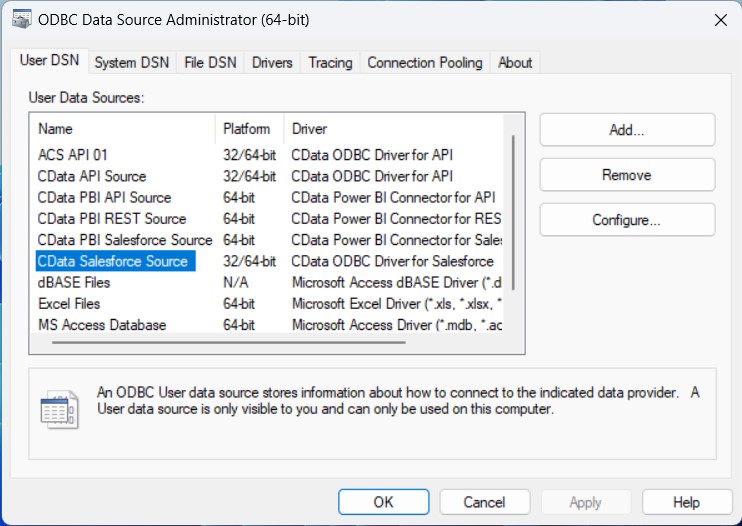
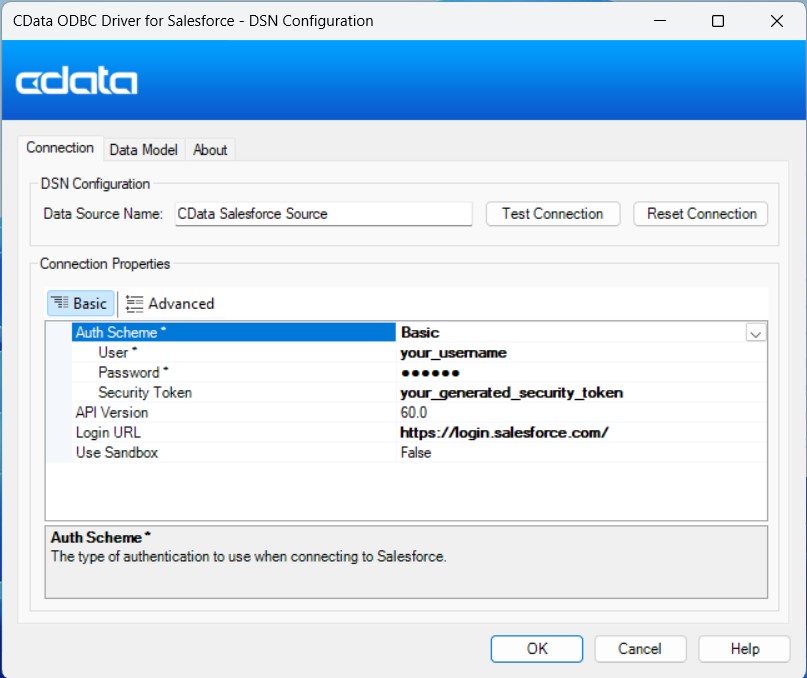
Once launched, double-click on the CData HubDB data Source and enter the required values to establish a connection:
There are two authentication methods available for connecting to HubDB data source: OAuth Authentication with a public HubSpot application and authentication with a Private application token.
Using a Custom OAuth App
AuthScheme must be set to "OAuth" in all OAuth flows. Be sure to review the Help documentation for the required connection properties for you specific authentication needs (desktop applications, web applications, and headless machines).
Follow the steps below to register an application and obtain the OAuth client credentials:
- Log into your HubSpot app developer account.
- Note that it must be an app developer account. Standard HubSpot accounts cannot create public apps.
- On the developer account home page, click the Apps tab.
- Click Create app.
- On the App info tab, enter and optionally modify values that are displayed to users when they connect. These values include the public application name, application logo, and a description of the application.
- On the Auth tab, supply a callback URL in the "Redirect URLs" box.
- If you're creating a desktop application, set this to a locally accessible URL like http://localhost:33333.
- If you are creating a Web application, set this to a trusted URL where you want users to be redirected to when they authorize your application.
- Click Create App. HubSpot then generates the application, along with its associated credentials.
- On the Auth tab, note the Client ID and Client secret. You will use these later to configure the driver.
Under Scopes, select any scopes you need for your application's intended functionality.
A minimum of the following scopes is required to access tables:
- hubdb
- oauth
- crm.objects.owners.read
- Click Save changes.
- Install the application into a production portal with access to the features that are required by the integration.
- Under "Install URL (OAuth)", click Copy full URL to copy the installation URL for your application.
- Navigate to the copied link in your browser. Select a standard account in which to install the application.
- Click Connect app. You can close the resulting tab.
Using a Private App
To connect using a HubSpot private application token, set the AuthScheme property to "PrivateApp."
You can generate a private application token by following the steps below:
- In your HubDB account, click the settings icon (the gear) in the main navigation bar.
- In the left sidebar menu, navigate to Integrations > Private Apps.
- Click Create private app.
- On the Basic Info tab, configure the details of your application (name, logo, and description).
- On the Scopes tab, select Read or Write for each scope you want your private application to be able to access.
- A minimum of hubdb and crm.objects.owners.read is required to access tables.
- After you are done configuring your application, click Create app in the top right.
- Review the info about your application's access token, click Continue creating, and then Show token.
- Click Copy to copy the private application token.
To connect, set PrivateAppToken to the private application token you retrieved.
Create a New GUI Project
- Launch the Lazarus IDE.
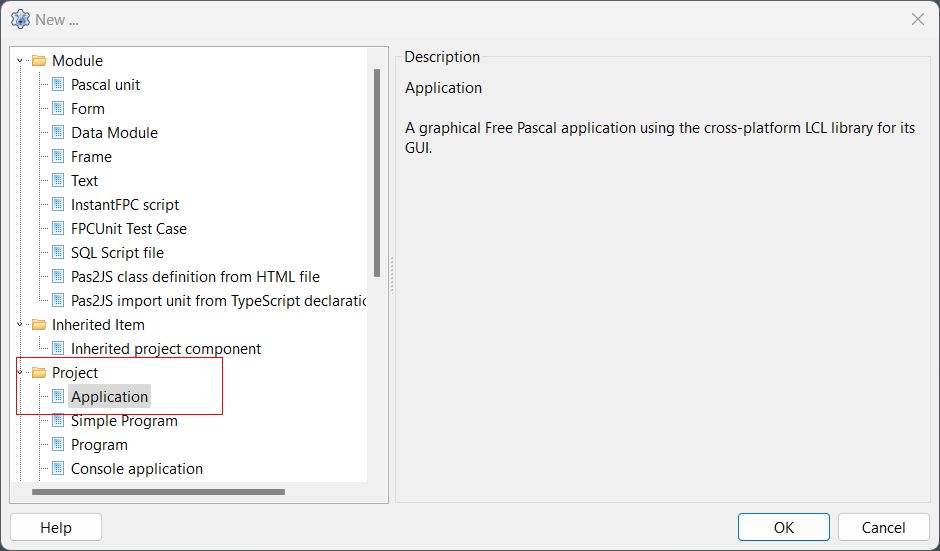
- Navigate to File > New > Application to create a new GUI project with a Main form.
Add Required Connection Components to the Form
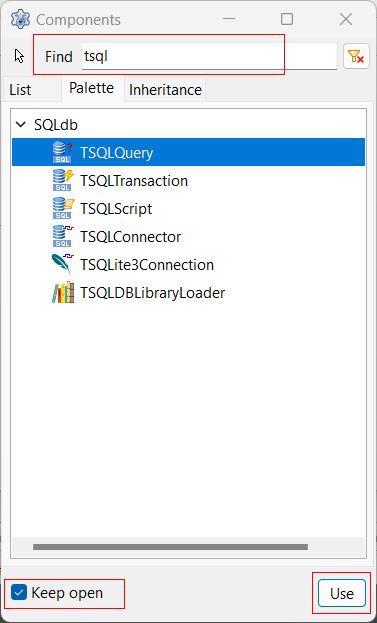
- Go to View > Component > Palette and check the Keep open at the bottom-left to keep the Components window persistently open.
-
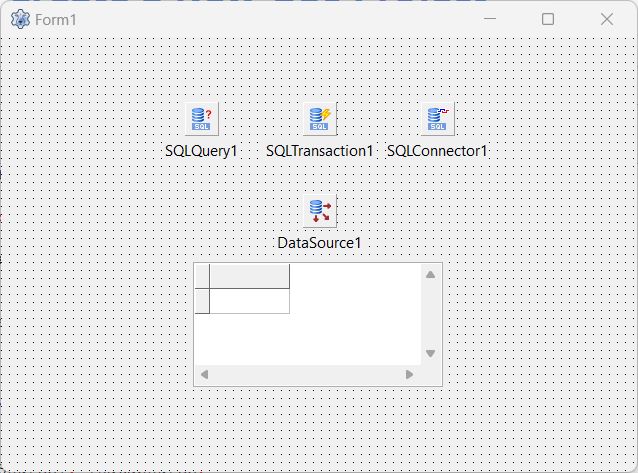
Search for the following components and add them to the Main form Form1 by clicking on Use at the bottom right.
- TSQLConnector
- TSQLTransaction
- TSQLQuery
- TDataSource
- TDBGrid

Configure the TSQLConnector Component
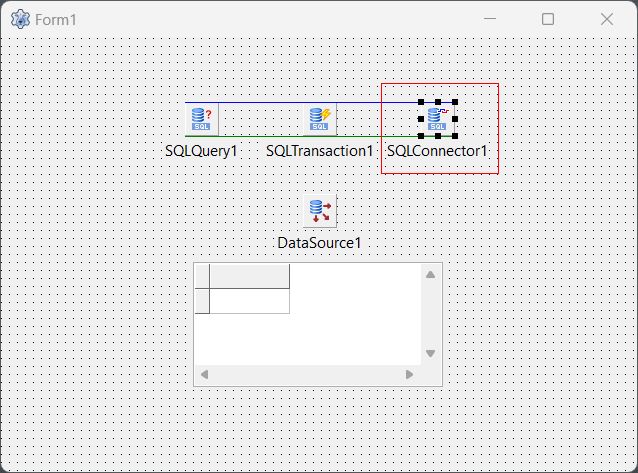
The TSQLConnector component in Lazarus Pascal IDE facilitates connections between your application and various databases or database APIs. Here's how to configure it:
- Select the TSQLConnector component on the Main form.
- Open the Object Inspector if it's not already open by going to View > Object Inspector
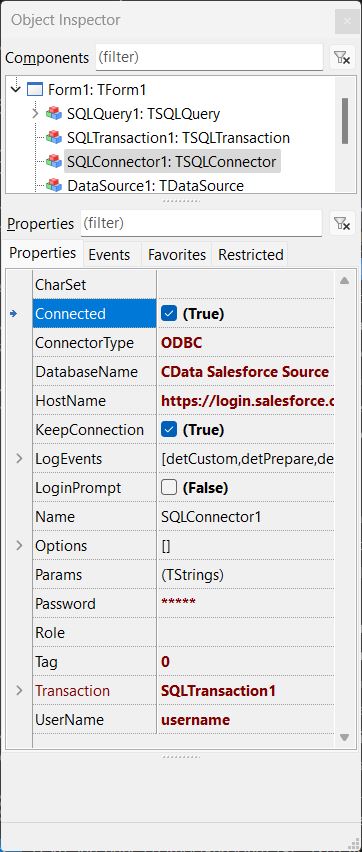
- In the Object Inspector on the left, set the following properties under the Properties section:
Property Value Connected True Driver ODBC DatabaseName Your DSN name (e.g., CData HubDB Source) UserName Your database username Password Your database password HostName HubDB URL or localhost for local databases LoginPrompt False Transaction Select your TSQLTransaction component
If your credentials require a security token, follow these steps:
- Double-click the Main Form in the Lazarus Pascal IDE to open the code editor.
- Locate the procedure TForm1.FormCreate(Sender: TObject); section.
- Paste the following code below the begin keyword. Replace 'your_security_token' with your actual security token:
SQLConnector1.Params.Values ['Password'] :=
  SQLConnector1.Params.Values ['Password'] + 'your_security_token';

Configure the TSQLQuery Component
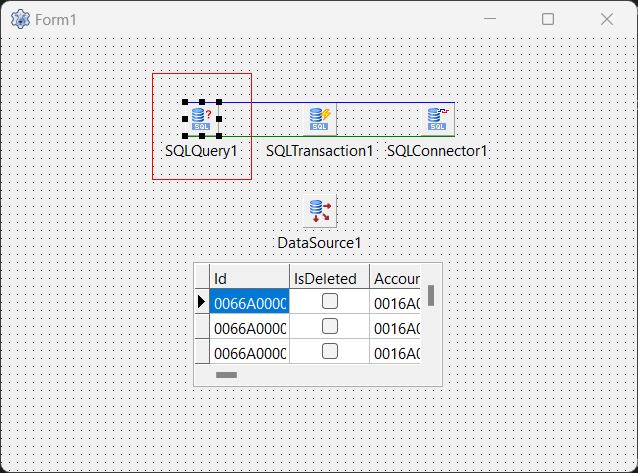
The TSQLQuery component in Lazarus Pascal IDE receives SQL code for queries and retrieves data from a database, simplifying data manipulation. Configure using the following info:
- Select the TSQLQuery component in the Main form.
- Set the following properties in the Object Inspector under the Properties section:
Property Value Active True DataBase Select the name of your TSQLConnector component SQL (Click 3 dots) Your query (e.g., SELECT * FROM NorthwindProducts) Transaction Your TSQLTransaction component

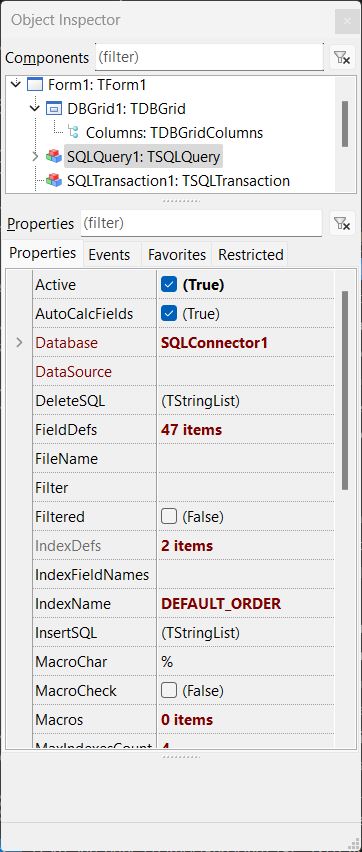
Configure the TDataSource, TDBGrid, TSQLTransaction Components
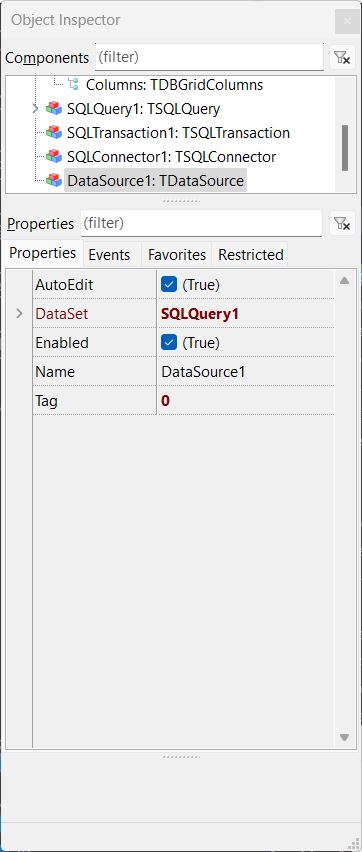
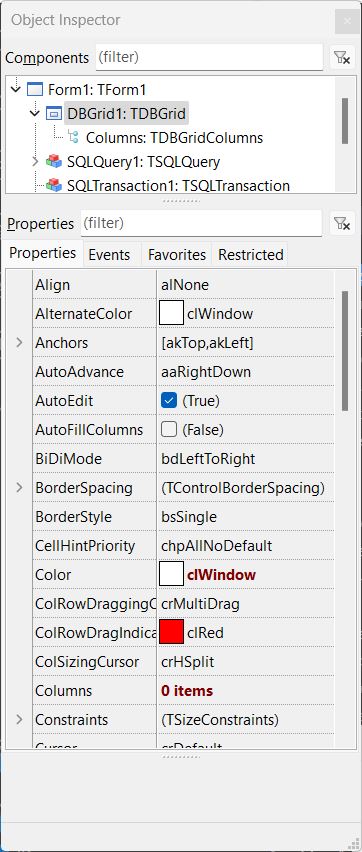
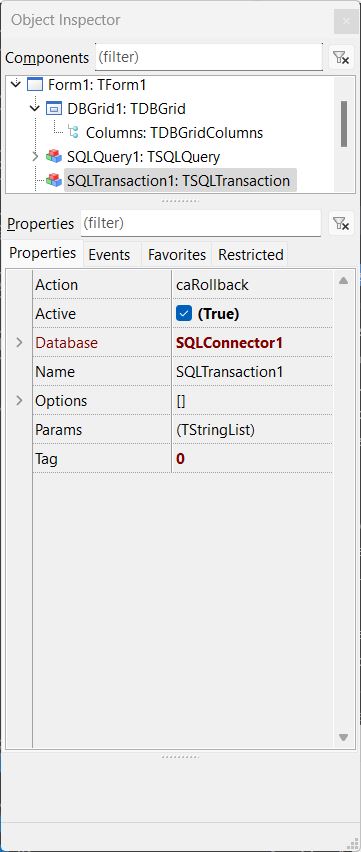
The TDataSource component in Lazarus Pascal IDE bridges a dataset (e.g., TSQLQuery) with data-aware controls like TDBGrid, allowing data to be displayed and manipulated. The TDBGrid presents the data in a tabular format, while the TSQLTransaction ensures database operations maintain data integrity by executing within a transaction. Here's how to configure all three components:
- Select the TDataSource component and set its DataSet property to the name of your TSQLQuery component.
- Select the TDBGrid component and set its DataSource property to your TDataSource component.
- Select the TSQLTransaction component. Set the following properties:
- Active: True
- Database: The name of your TSQLConnector component
Add Code to Test the Connection
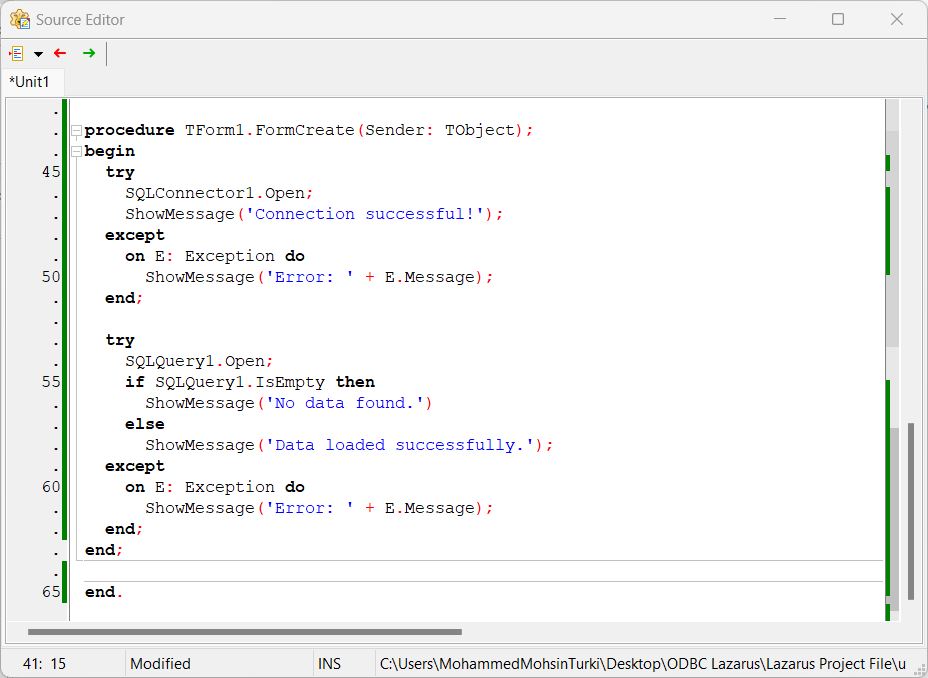
To successfully test the connection, use the following code:
- Double-click on the Main Form to open up the Source Editor.
- Add the following code under the begin keyword and before the end. keyword.
procedure TForm1.FormCreate(Sender: TObject);
begin
  // Code for your Security Token
    SQLConnector1.Params.Values ['Password'] :=
        SQLConnector1.Params.Values ['Password'] + 'your_security_token';
  try
    SQLConnector1.Open;
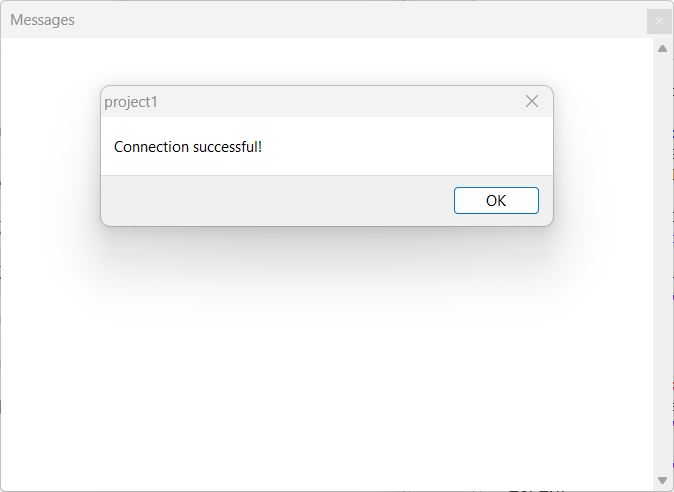
    ShowMessage('Connection successful!');
  except
    on E: Exception do
      ShowMessage('Error: ' + E.Message);
  end;

  try
    SQLQuery1.Open;
    if SQLQuery1.IsEmpty then
      ShowMessage('No data found.')
    else
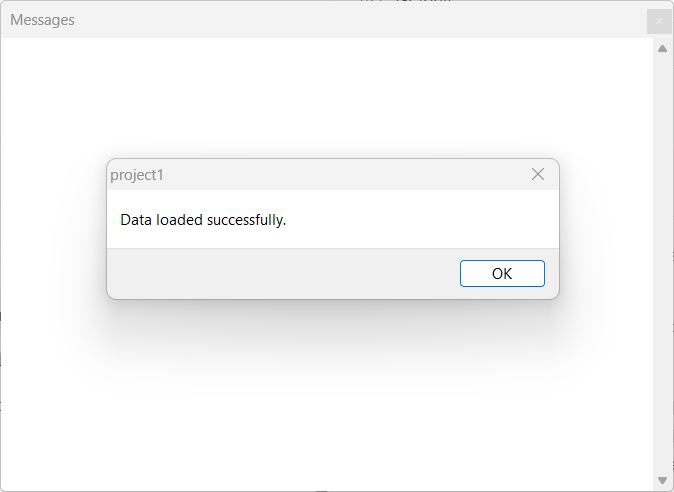
      ShowMessage('Data loaded successfully.');
  except
    on E: Exception do
      ShowMessage('Error: ' + E.Message);
  end;
end;

end.
Compile and Run the Application
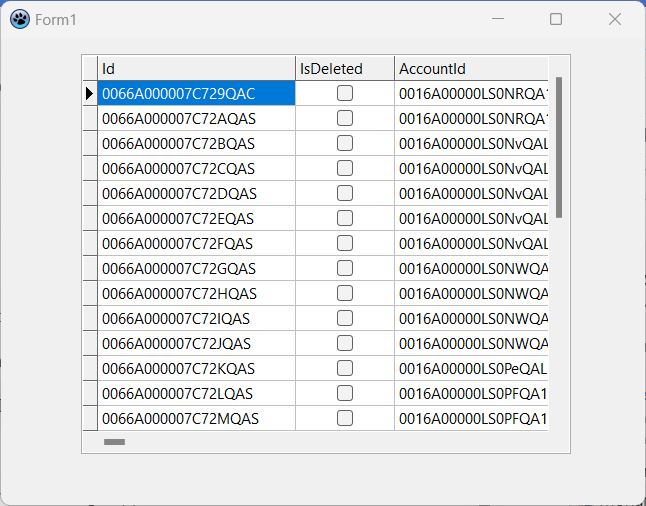
Save your project. Go to Run > Compile, then Run, or use the shortcut F9 to execute your application.
Next Steps: Play with the Data
Now that your data is successfully imported into Lazarus, here are some ideas to explore its full potential:
- Enhance Your TDBGrid: Customize your TDBGrid to enable sorting, editing, or highlighting specific rows.
- Visualize Your Data: Use components like TChart to create graphs and charts for intuitive data representation.
- Filter and Search: Use components like TDBFilter or implement custom filtering logic to allow users to quickly focus on relevant data. Add a TEdit component for user input and link it to your filtering functionality.
- Export Your Data: Utilize TSVExport or TFileStream components to save your data in formats like CSV or Excel for sharing or integration into other systems.
- Perform Calculations: Use TFPCustomDataSet or your dataset's built-in features to calculate totals, averages, or other metrics. Display results in a TLabel or add them to your TDBGrid.
- Create Forms and Reports: Design interactive forms using TForm and TDBEdit for user interaction. For reports, integrate components like RLReport or FastReport to generate and print professional-quality reports.
Take your data-driven application to the next level with these enhancements!
Simplify Data Connectivity in Lazarus with CData
Unlock the full potential of live HubDB data directly within Lazarus Pascal. Streamline your workflows, enhance productivity, and experience seamless integration like never before.
Start your free trial today and transform the way you connect and work with your data!

