Model Context Protocol (MCP) finally gives AI models a way to access the business data needed to make them really useful at work. CData MCP Servers have the depth and performance to make sure AI has access to all of the answers.
Try them now for free →How to Import Jira Data into SQL Server using SSIS
Easily back up Jira data to SQL Server using the SSIS components for Jira.
Using SQL Server as a backup for critical business data provides an essential safety net against loss. Backing up data to SQL Server enables business users to more easily connect that data with features like reporting, analytics, and more.
This example demonstrates how to use the CData SSIS Tasks for Jira inside of a SQL Server SSIS workflow to transfer Jira data into a Microsoft SQL Server database.
About Jira Data Integration
CData simplifies access and integration of live Jira data. Our customers leverage CData connectivity to:
- Gain bi-directional access to their Jira objects like issues, projects, and workflows.
- Use SQL stored procedures to perform functional actions like changing issues status, creating custom fields, download or uploading an attachment, modifying or retrieving time tracking settings, and more.
- Authenticate securely using a variety of methods, including username and password, OAuth, personal access token, API token, Crowd or OKTA SSO, LDAP, and more.
Most users leverage CData solutions to integrate Jira data with their database or data warehouse, whether that's using CData Sync directly or relying on CData's compatibility with platforms like SSIS or Azure Data Factory. Others are looking to get analytics and reporting on live Jira data from preferred analytics tools like Tableau and Power BI.
Learn more about how customers are seamlessly connecting to their Jira data to solve business problems from our blog: Drivers in Focus: Collaboration Tools.
Getting Started
Add the Components
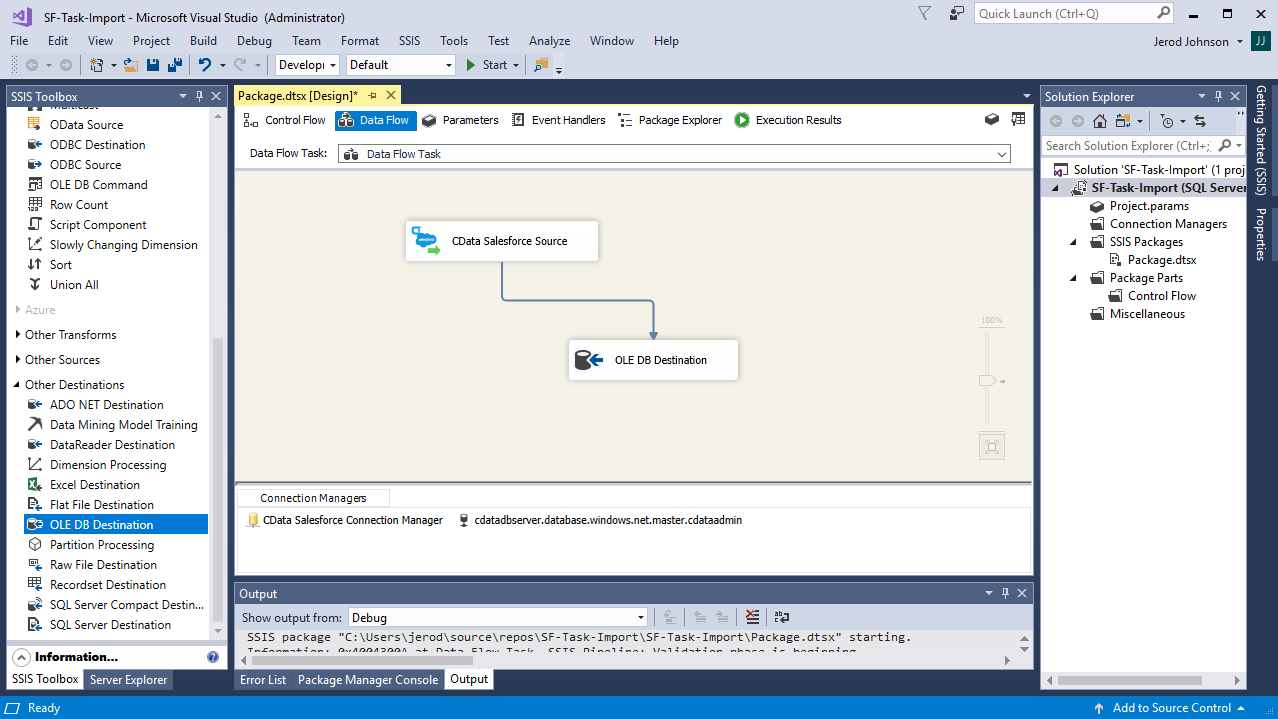
To get started, add a new Jira source and SQL Server ADO.NET destination to a new data flow task.
Create a New Connection Manager
Follow the steps below to save Jira connection properties in a connection manager.
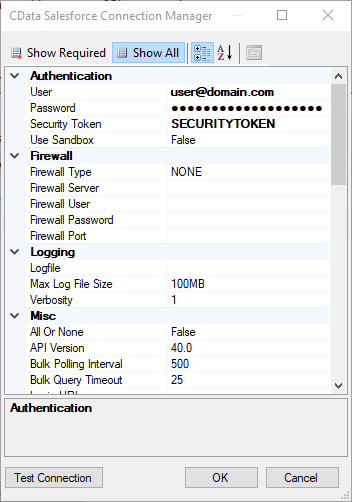
- In the Connection Manager window, right-click and then click New Connection. The Add SSIS Connection Manager dialog is displayed.
- In the Connection Manager type menu, select JIRA. The CData Jira Connection Manager is displayed.
- Configure connection properties.
To connect to JIRA, provide the User and Password. Additionally, provide the Url; for example, https://yoursitename.atlassian.net.
![Configuring a connection (Salesforce is shown).]()
Configure the Jira Source
Follow the steps below to specify the query to be used to extract Jira data.
- Double-click the Jira source to open the source component editor.
- In the Connection Manager menu, select the connection manager previously created.
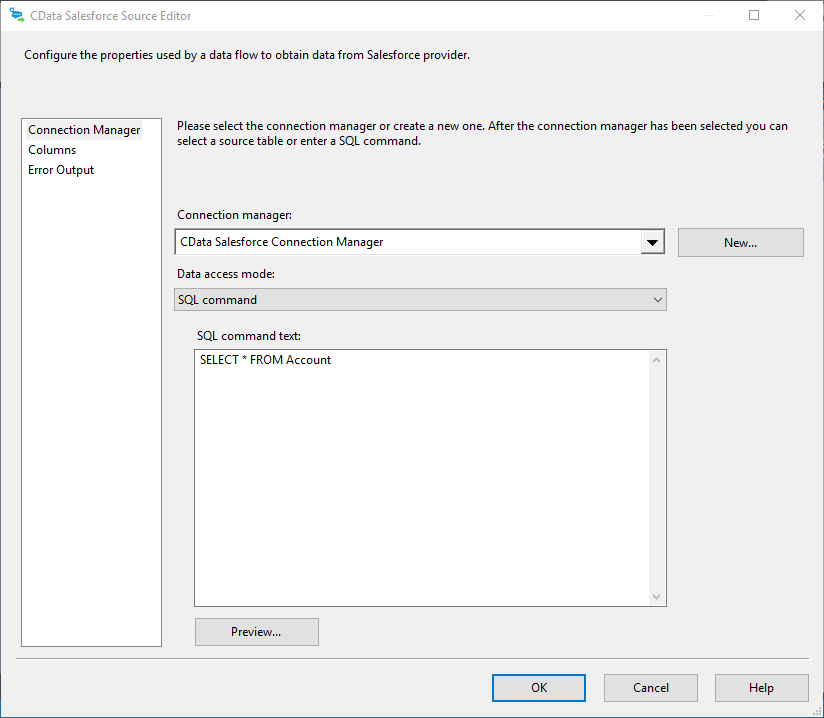
- Specify the query to use for the data extraction. For example:
SELECT Projects.LeadName, Issues.Summary FROM Projects, Issues WHERE Projects.Id=Issues.ProjectId![The SQL query to retrieve records. (Salesforce is shown.)]()
- Close the Jira Source control and connect it to the ADO.NET Destination.
Configure the SQL Server Destination
Follow the steps below to specify the SQL server table to load the Jira data into.
- Open the ADO.NET Destination and add a New Connection. Enter your server and database information here.
- In the Data access mode menu, select "table or view".
- In the Table Or View menu, select the table or view to populate.
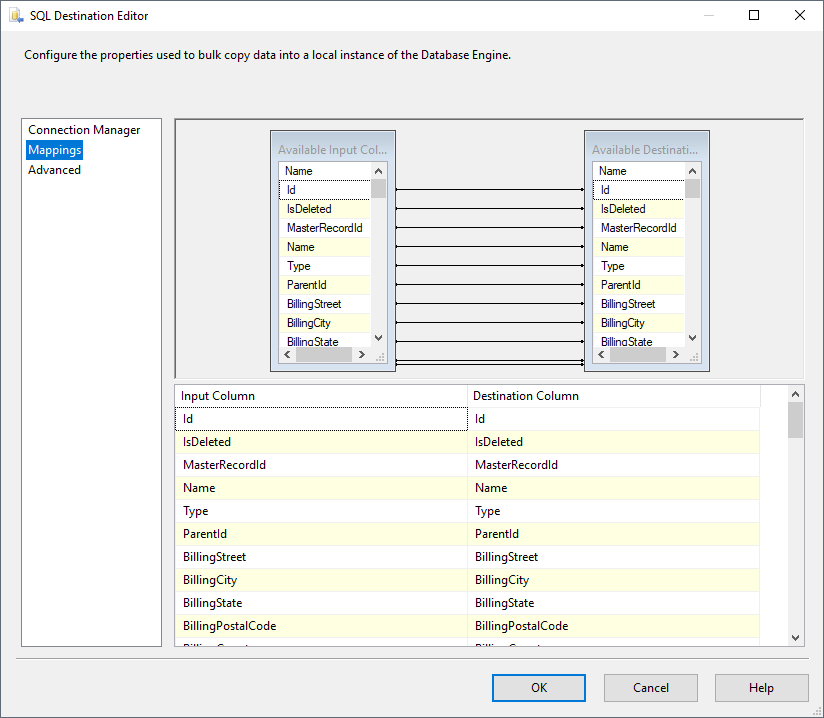
- Configure any properties you wish to on the Mappings screen.
![The mappings from the SSIS source component to SQL Server. (Salesforce is shown.)]()
Run the Project
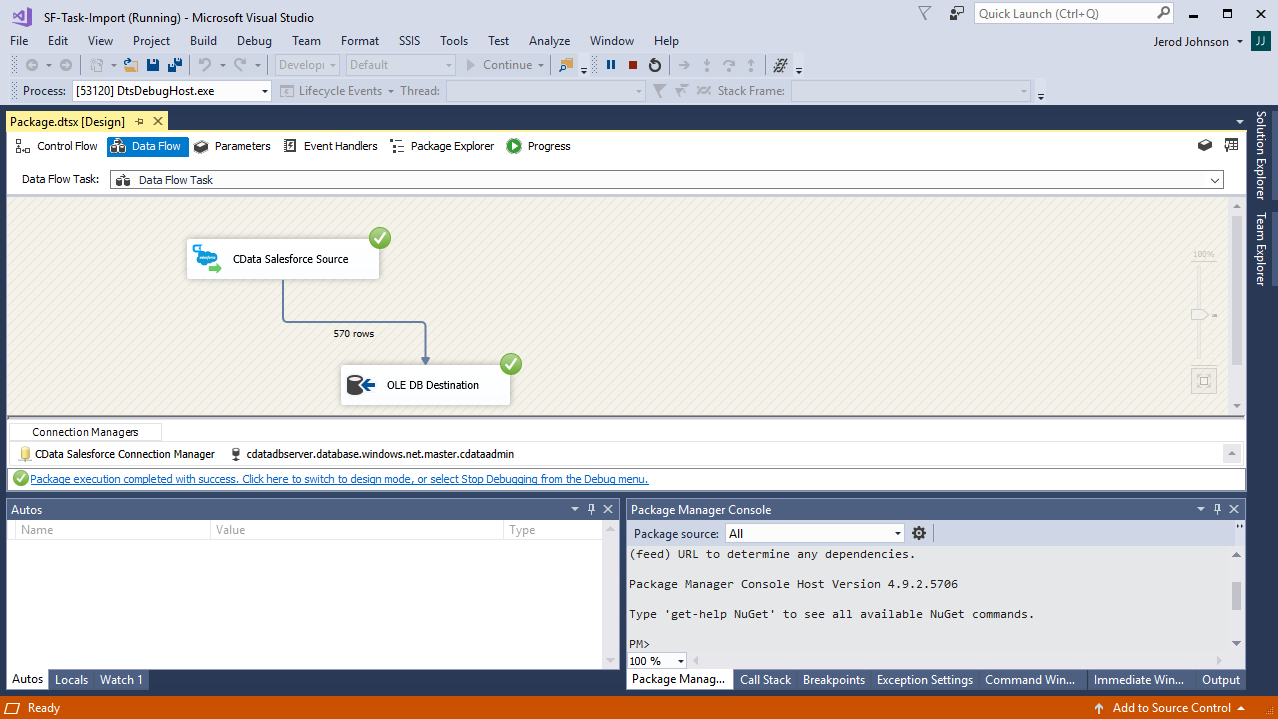
You can now run the project. After the SSIS Task has finished executing, your database will be populated with Jira data.
