Model Context Protocol (MCP) finally gives AI models a way to access the business data needed to make them really useful at work. CData MCP Servers have the depth and performance to make sure AI has access to all of the answers.
Try them now for free →
Using the CData ODBC Driver for OData in PyCharm
Connect to OData as an ODBC data source in PyCharm using the CData ODBC Driver for OData.
The CData ODBC Drivers can be used in any environment that supports loading an ODBC Driver. In this tutorial we will explore using the CData ODBC Driver for OData from within PyCharm. Included are steps for adding the CData ODBC Driver as a data source, as well as basic PyCharm code to query the data source and display results.
To begin, this tutorial will assume that you have already installed the CData ODBC Driver for OData as well as PyCharm.
About OData Data Integration
CData simplifies access and integration of live OData services data. Our customers leverage CData connectivity to:
- Access OData versions 2.0, 3.0, and 4.0, working with legacy services and the latest features and capabilities.
- Leverage advanced query options, including $filter, $select, and $expand, enhancing data retrieval from 3rd party tools.
- Use Server-side execution of aggregation and grouping to minimize data transfer and boost performance.
- Authenticate securely using a variety of schemes, including Azure AD, digest, negotiate, NTLM, OAuth, and more means secure authentication with every connection.
- Use SQL stored procedures to manage OData service entities - listing, creating, and removing associations between entities.
Customers use CData's solutions to regularly integrate their OData services with preferred tools, such as Power BI, MicroStrategy, or Tableau, and to replicate data from OData services to their databases or data warehouses.
Getting Started
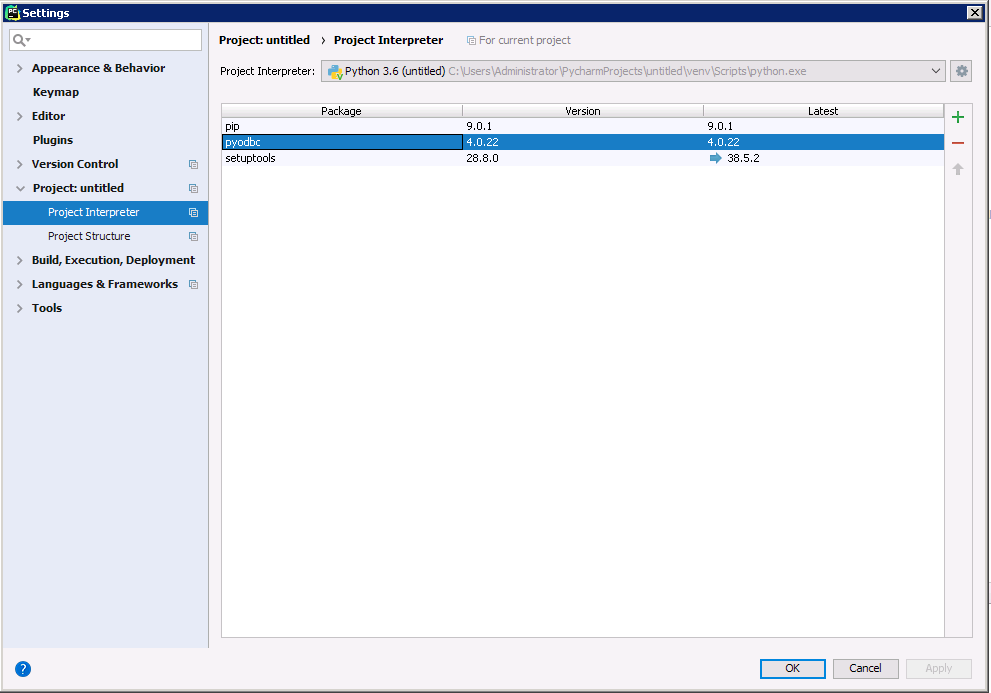
Add Pyodbc to the Project
Follow the steps below to add the pyodbc module to your project.
- Click File -> Settings to open the project settings window.
- Click Project Interpreter from the Project: YourProjectName menu.
- To add pyodbc, click the + button and enter pyodbc.
- Click Install Package to install pyodbc.
Connect to OData
You can now connect with an ODBC connection string or a DSN. See the Getting Started section in the CData driver documentation for a guide to creating a DSN on your OS.
The User and Password properties, under the Authentication section, must be set to valid OData user credentials. In addition, you will need to specify a URL to a valid OData server organization root or OData services file.
Below is the syntax for a DSN:
[CData OData Source]
Driver = CData ODBC Driver for OData
Description = My Description
URL = http://services.odata.org/V4/Northwind/Northwind.svc
UseIdUrl = True
OData Version = 4.0
Data Format = ATOM
Execute SQL to OData
Instantiate a Cursor and use the execute method of the Cursor class to execute any SQL statement.
import pyodbc

cnxn = pyodbc.connect('DRIVER={CData ODBC Driver for OData};URL = http://services.odata.org/V4/Northwind/Northwind.svc;UseIdUrl = True;OData Version = 4.0;Data Format = ATOM;')
cursor = cnxn.cursor()
cursor.execute("SELECT OrderName, Freight FROM Orders WHERE ShipCity = 'New York'")
rows = cursor.fetchall()
for row in rows:
  print(row.OrderName, row.Freight)
After connecting to OData in PyCharm using the CData ODBC Driver, you will be able to build Python apps with access to OData services as if it were a standard database. If you have any questions, comments, or feedback regarding this tutorial, please contact us at support@cdata.com.
Ready to get started?
Download a free trial of the OData ODBC Driver to get started:
Download NowLearn more:
The OData ODBC Driver is a powerful tool that allows you to connect with live OData Services, directly from any applications that support ODBC connectivity.
Access OData services like you would any standard database - read, write, and update etc. through a standard ODBC Driver interface.