Model Context Protocol (MCP) finally gives AI models a way to access the business data needed to make them really useful at work. CData MCP Servers have the depth and performance to make sure AI has access to all of the answers.
Try them now for free →Access Presto Data as OData Feeds in Tableau
Use the Tableau Desktop business intelligence tool to connect to Presto data using the API Server.
The CData API Server, when paired with the ADO.NET Provider for Presto (or any of 200+ other ADO.NET Providers), provides Presto data as OData Web services. This article will explain how to use the API Server to provide the underlying connectivity to Presto data in Tableau's business intelligence tool.
About Presto Data Integration
Accessing and integrating live data from Trino and Presto SQL engines has never been easier with CData. Customers rely on CData connectivity to:
- Access data from Trino v345 and above (formerly PrestoSQL) and Presto v0.242 and above (formerly PrestoDB)
- Read and write access all of the data underlying your Trino or Presto instances
- Optimized query generation for maximum throughput.
Presto and Trino allow users to access a variety of underlying data sources through a single endpoint. When paired with CData connectivity, users get pure, SQL-92 access to their instances, allowing them to integrate business data with a data warehouse or easily access live data directly from their preferred tools, like Power BI and Tableau.
In many cases, CData's live connectivity surpasses the native import functionality available in tools. One customer was unable to effectively use Power BI due to the size of the datasets needed for reporting. When the company implemented the CData Power BI Connector for Presto they were able to generate reports in real-time using the DirectQuery connection mode.
Getting Started
Set Up the API Server
Follow the steps below to begin producing secure Presto OData services:
Deploy
The API Server runs on your own server. On Windows, you can deploy using the stand-alone server or IIS. On a Java servlet container, drop in the API Server WAR file. See the help documentation for more information and how-tos.
The API Server is also easy to deploy on Microsoft Azure, Amazon EC2, and Heroku.
Connect to Presto
After you deploy the API Server and the ADO.NET Provider for Presto, provide authentication values and other connection properties needed to connect to Presto by clicking Settings -> Connections and adding a new connection in the API Server administration console.
Set the Server and Port connection properties to connect, in addition to any authentication properties that may be required.
To enable TLS/SSL, set UseSSL to true.
Authenticating with LDAP
In order to authenticate with LDAP, set the following connection properties:
- AuthScheme: Set this to LDAP.
- User: The username being authenticated with in LDAP.
- Password: The password associated with the User you are authenticating against LDAP with.
Authenticating with Kerberos
In order to authenticate with KERBEROS, set the following connection properties:
- AuthScheme: Set this to KERBEROS.
- KerberosKDC: The Kerberos Key Distribution Center (KDC) service used to authenticate the user.
- KerberosRealm: The Kerberos Realm used to authenticate the user with.
- KerberosSPN: The Service Principal Name for the Kerberos Domain Controller.
- KerberosKeytabFile: The Keytab file containing your pairs of Kerberos principals and encrypted keys.
- User: The user who is authenticating to Kerberos.
- Password: The password used to authenticate to Kerberos.
When you configure the connection, you may also want to set the Max Rows connection property. This will limit the number of rows returned, which is especially helpful for improving performance when designing reports and visualizations.
You can then choose the Presto entities you want to allow the API Server to access by clicking Settings -> Resources.
Additionally, click Settings -> Server and set the Default Format to XML (Atom) for compatibility with Tableau.
Authorize API Server Users
After determining the OData services you want to produce, authorize users by clicking Settings -> Users. The API Server uses authtoken-based authentication and supports the major authentication schemes. Access can also be restricted based on IP address; by default only connections to the local machine are allowed. You can authenticate as well as encrypt connections with SSL.
Create Real-Time Presto Data Visualizations
Follow the steps below to create data visualizations based on the remote Presto data:
-
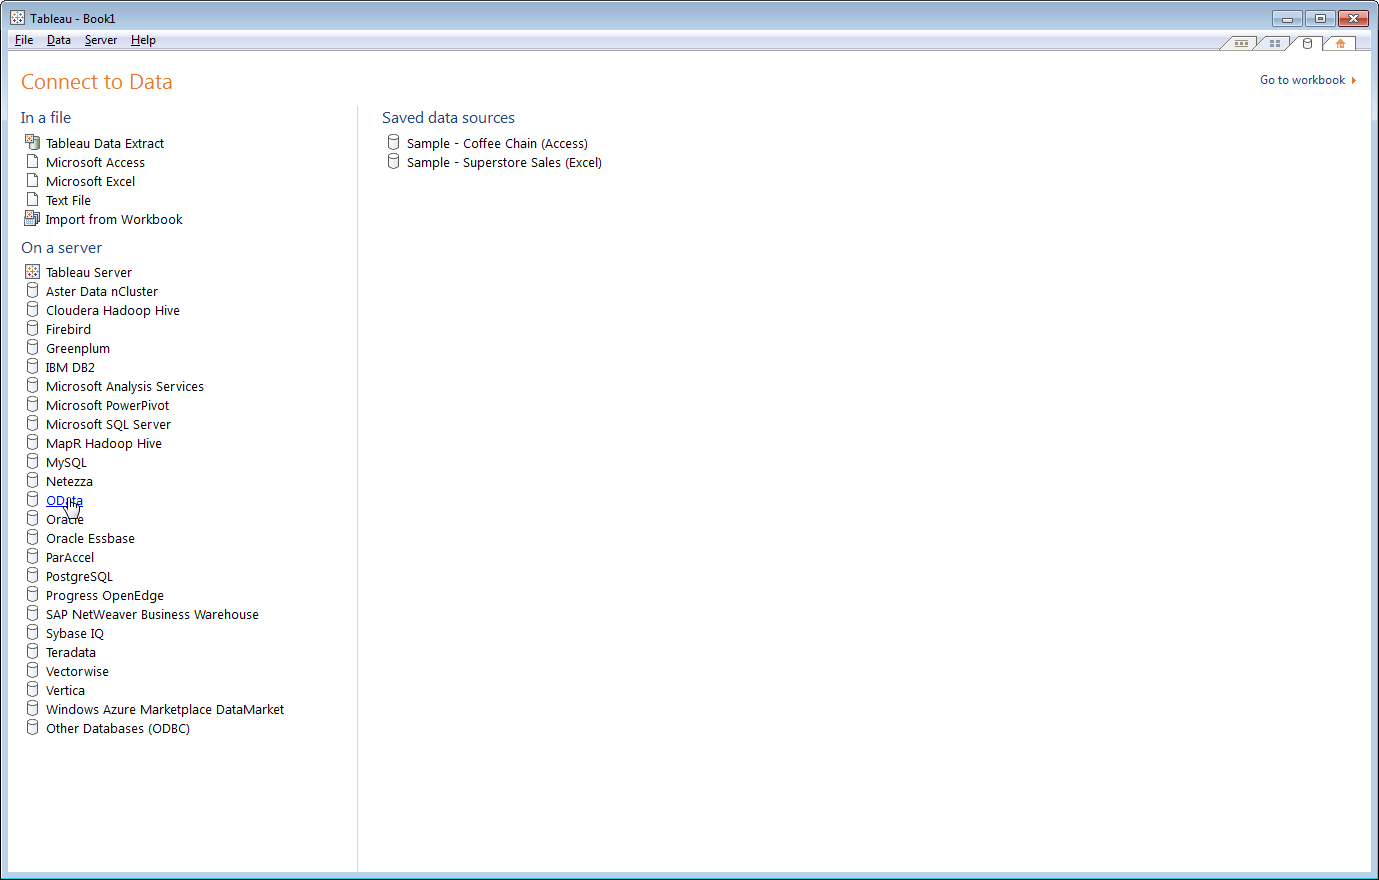
In Tableau, select 'Connect to data'. In the 'On a server' section, click OData.

-
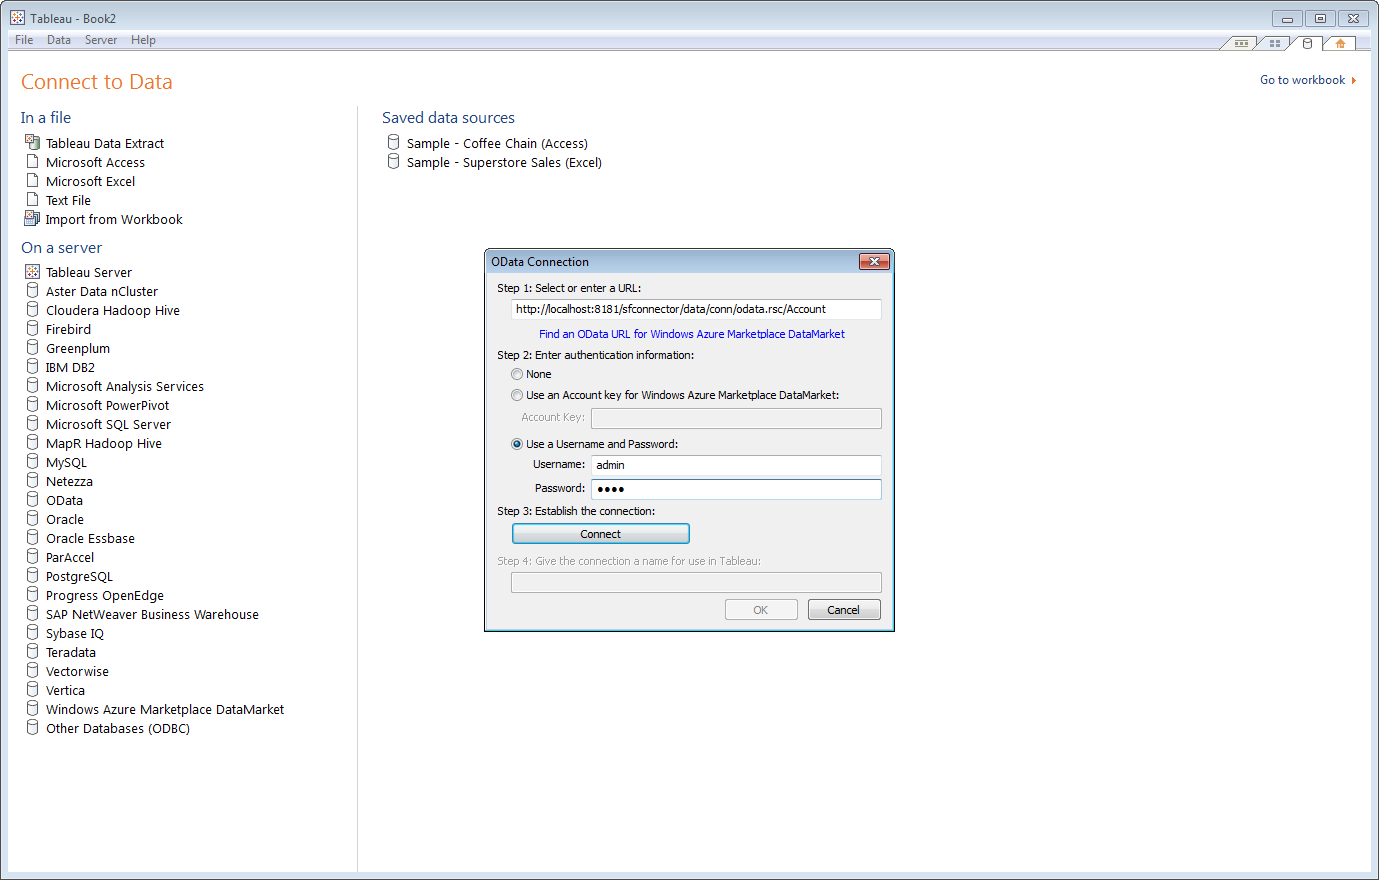
In the resulting wizard, enter the URL of the OData endpoint for the API Server. Append the name of the table you want to access to the OData entry URL. For example:
https://your-server/api.rsc/Customer -
Select the
'Use a Username and Password' option and enter the username and password of a user who has access to the API Server.

-
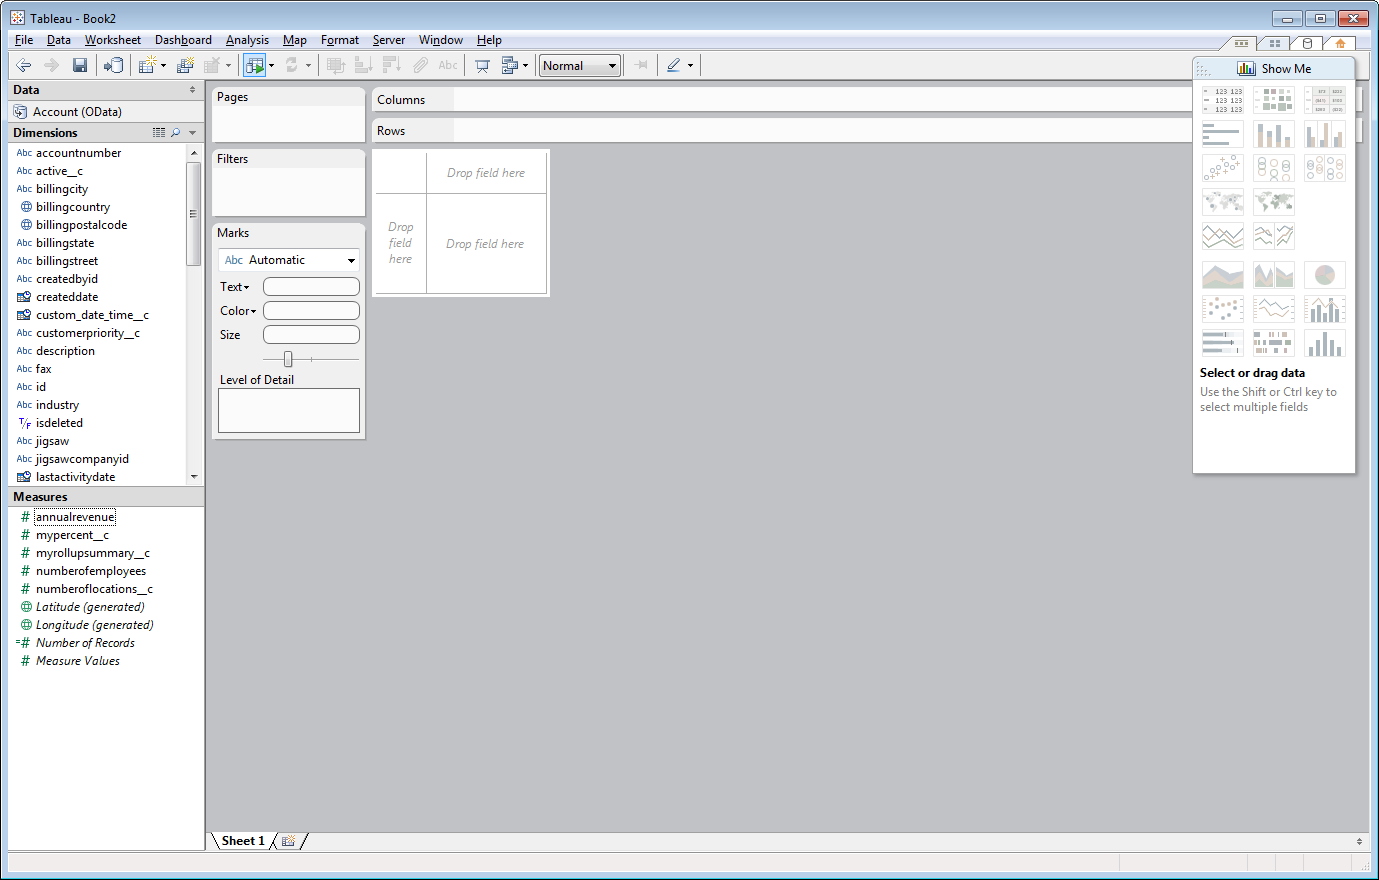
Tableau uses the table metadata exposed by the API Server to detect dimension and measure columns.

-
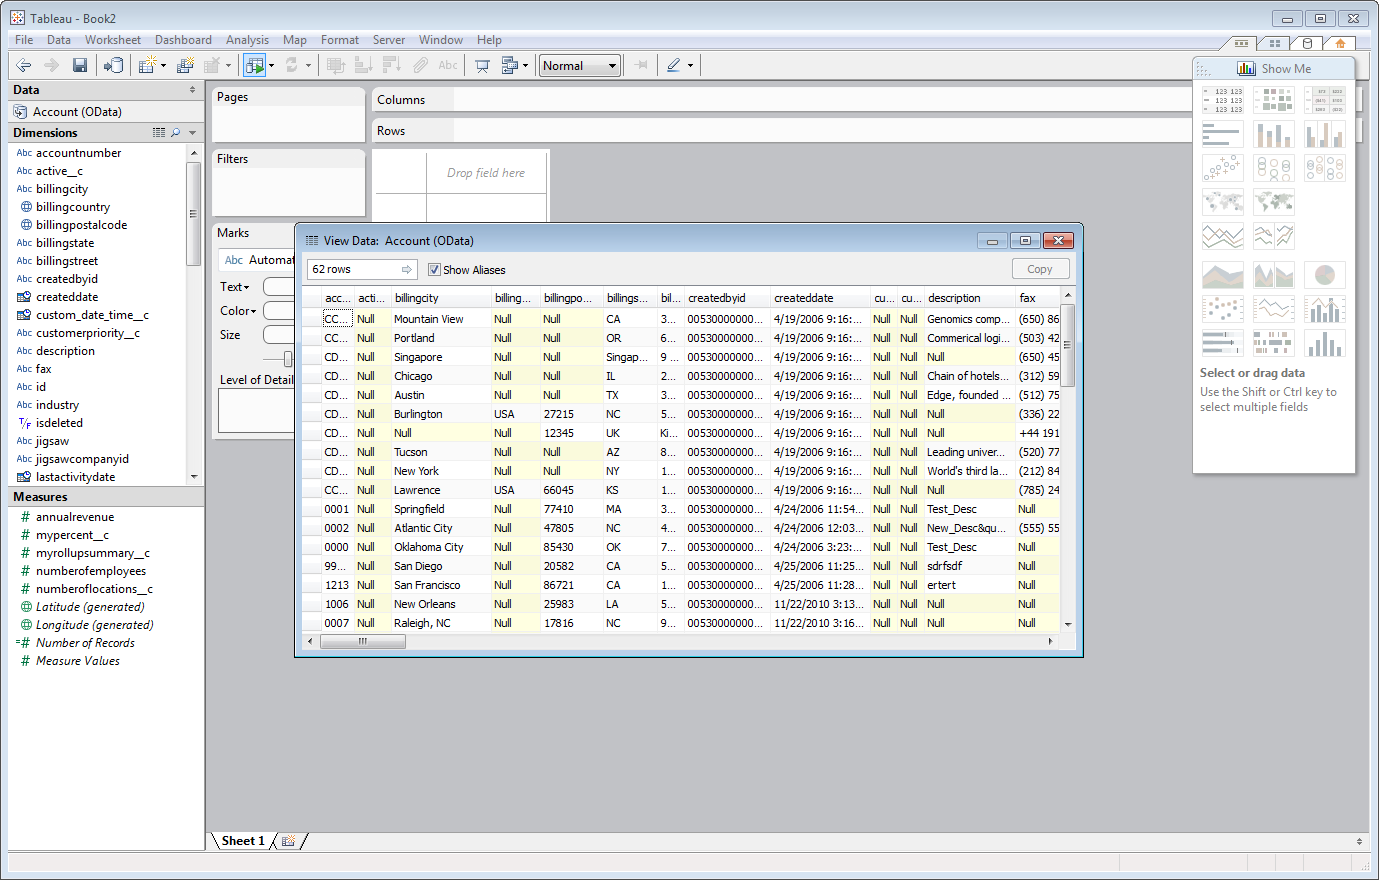
To view the Presto data, right-click under the table name in the Data section of the dashboard and select the View Data option. The Presto data will appear in Tableau.

