Model Context Protocol (MCP) finally gives AI models a way to access the business data needed to make them really useful at work. CData MCP Servers have the depth and performance to make sure AI has access to all of the answers.
Try them now for free →Connect to SAP from Asprova with CData ODBC Driver for SAP
This article shows how to connect faster to SAP data from Asprova.
The CData ODBC driver for SAP enables you to access SAP data from Asprova. In this article, you will import SAP data into item data in Asprova as an example.
About SAP Data Integration
CData provides the easiest way to access and integrate live data from SAP. Customers use CData connectivity to:
- Access every edition of SAP, including SAP R/3, SAP NetWeaver, SAP ERP / ECC 6.0, and SAP S/4 HANA on premises data that is exposed by the RFC.
- Perform actions like sending IDoc or IDoc XML files to the server and creating schemas for functions or queries through SQL stored procedures.
-
Connect optimally depending on where a customer's SAP instance is hosted.
- Customers using SAP S/4HANA cloud public edition will use SAP NetWeaver Gateway connectivity
- Customers using SAP S/4HANA private edition will use either SAP ERP or SAP NetWeaver Gateway connectivity.
While most users leverage our tools to replicate SAP data to databases or data warehouses, many also integrate live SAP data with analytics tools such as Tableau, Power BI, and Excel.
Getting Started
Asprova setting
-
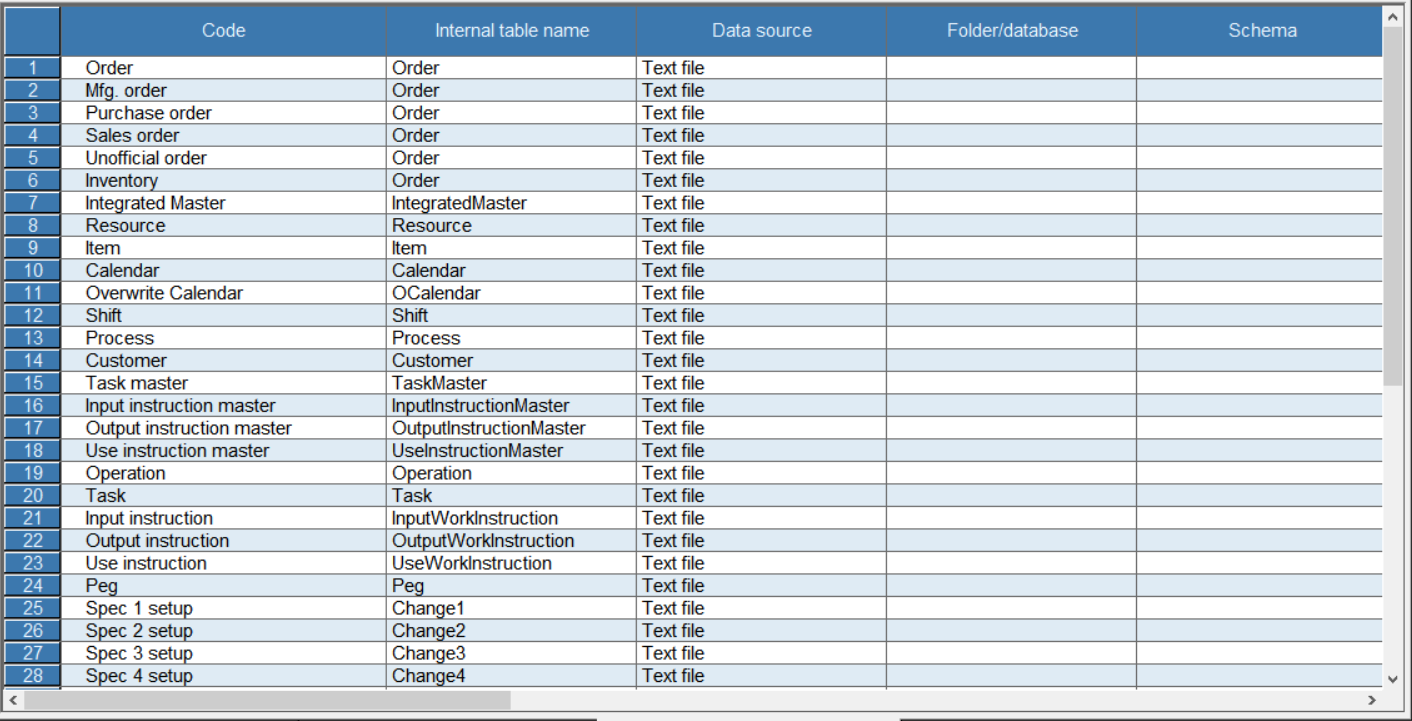
Click File -> Data I/O Settings.
![DataIO]()
-
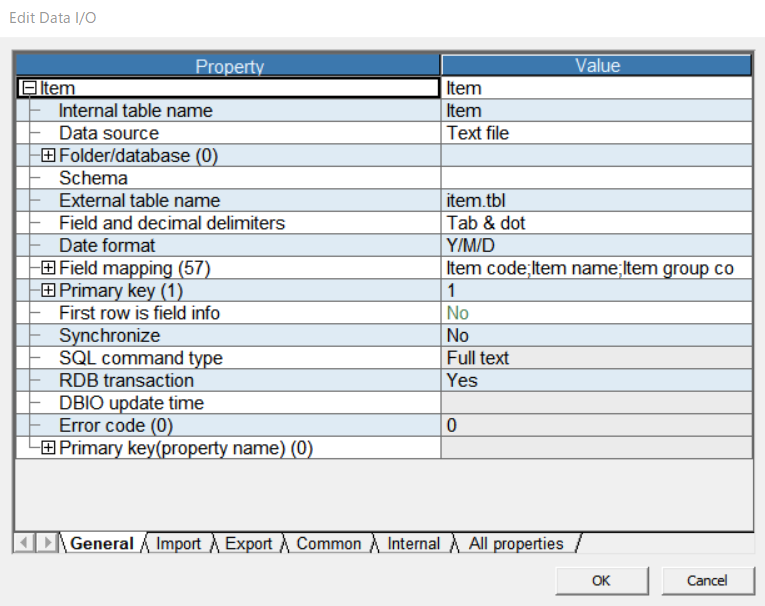
Double click the header of Item and open the Edit I/O dialog.
![DataIO]()
-
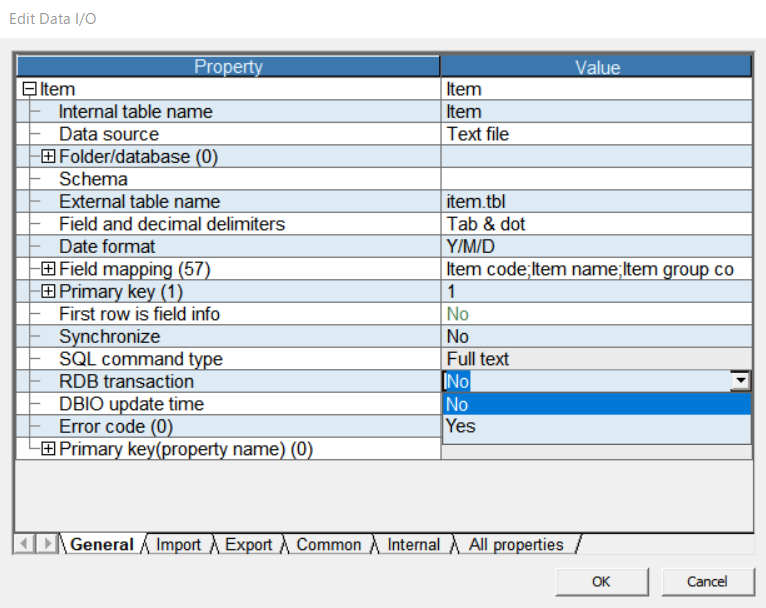
Select "No" from the RDB transaction combo box and close the dialog.
![DataIO]()
Data driver setting
-
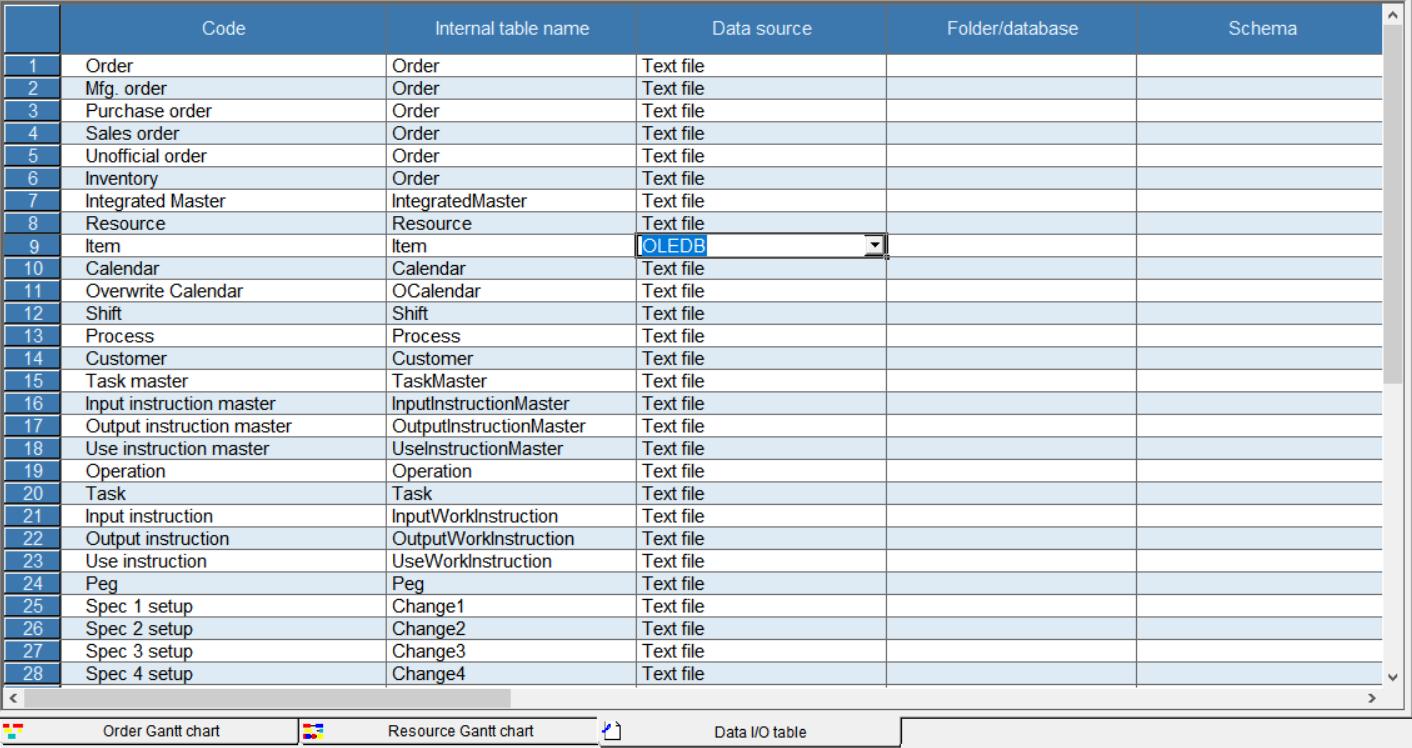
Select "OLE DB" from combo box in "Data source" column.
![DataIO]()
-
Click button in Folder/database column and open the Data Link Property dialog. Select "Microsoft OLE DB Provider for ODBC Drivers" from the list of data provider.
-
Select the Connection tab. Check "Use data source name" and select "CData SAP Source" from DSN combo box.
-
Click the Test Connection button and make sure you see the message "Connection successful".
Schema setting
-
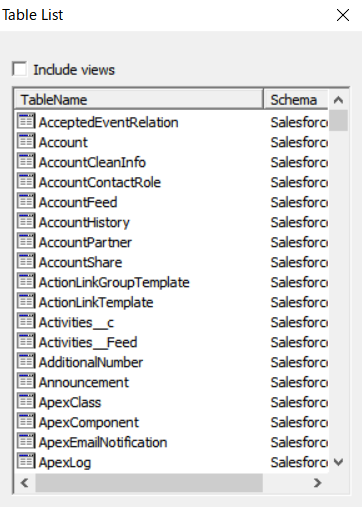
Click the button in "External table name" column and open the Table List dialog. Make sure tables in SAP are listed in the dialog.
![DataIO]()
-
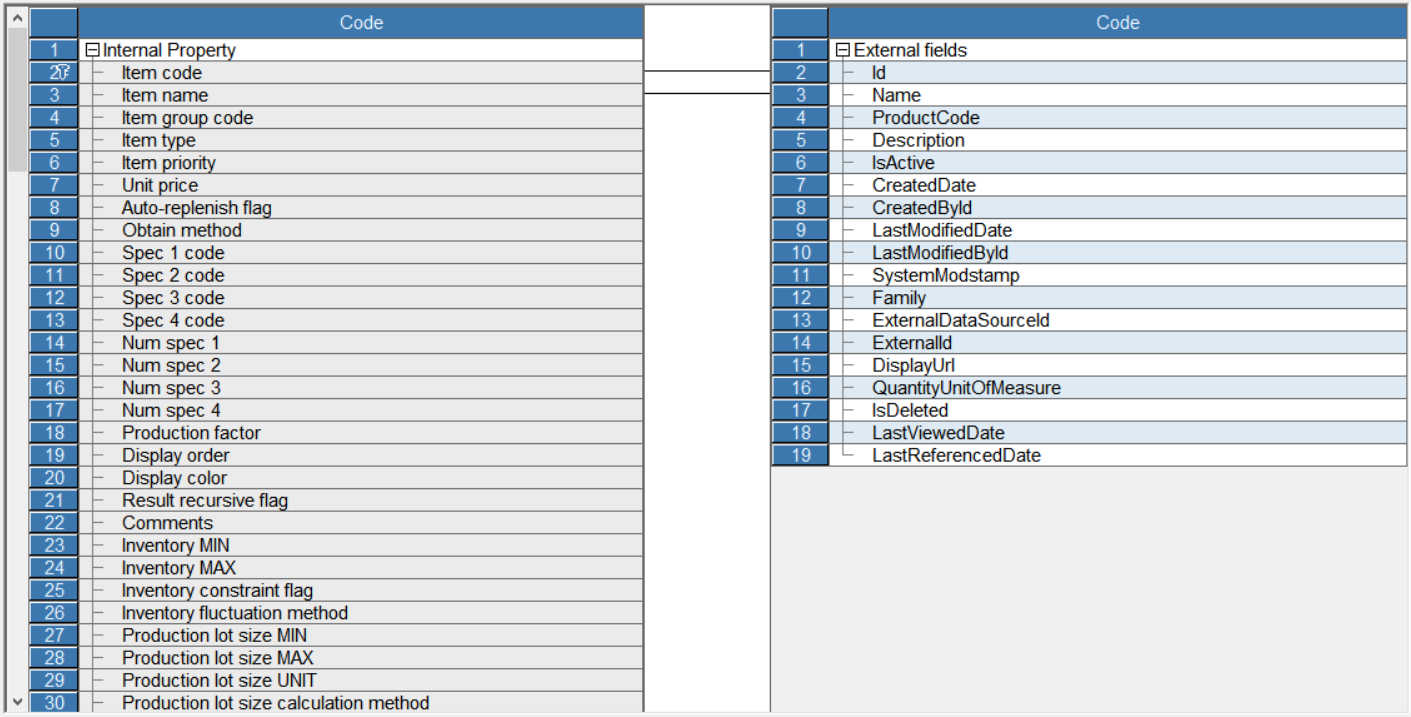
Click the button in "Field mapping" column and open the Item-Field Mapping dialog.
![DataIO]()
-
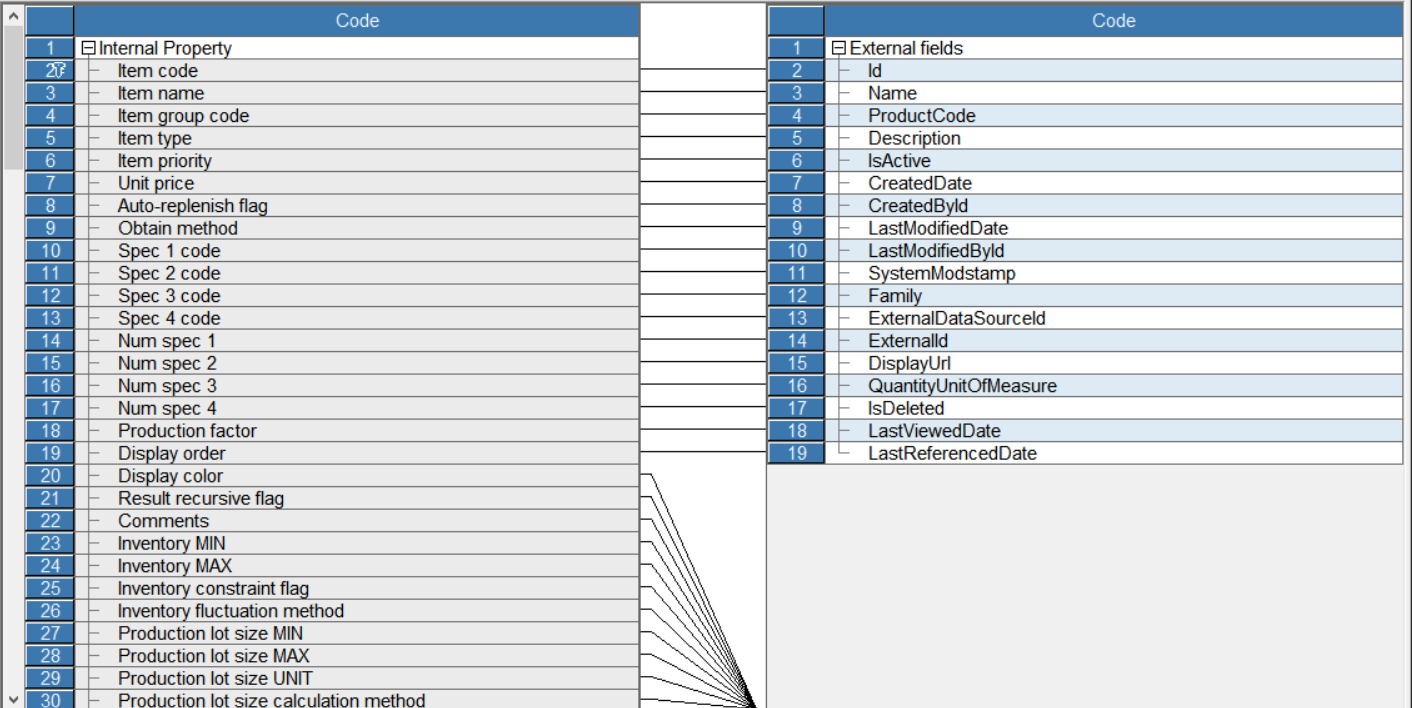
Open the context menu in the space between tables and click Delete All. Link corresponding fields by dragging mouse.
![DataIO]()
-
Click File > Import and data will be imported into Asprova.
Check data
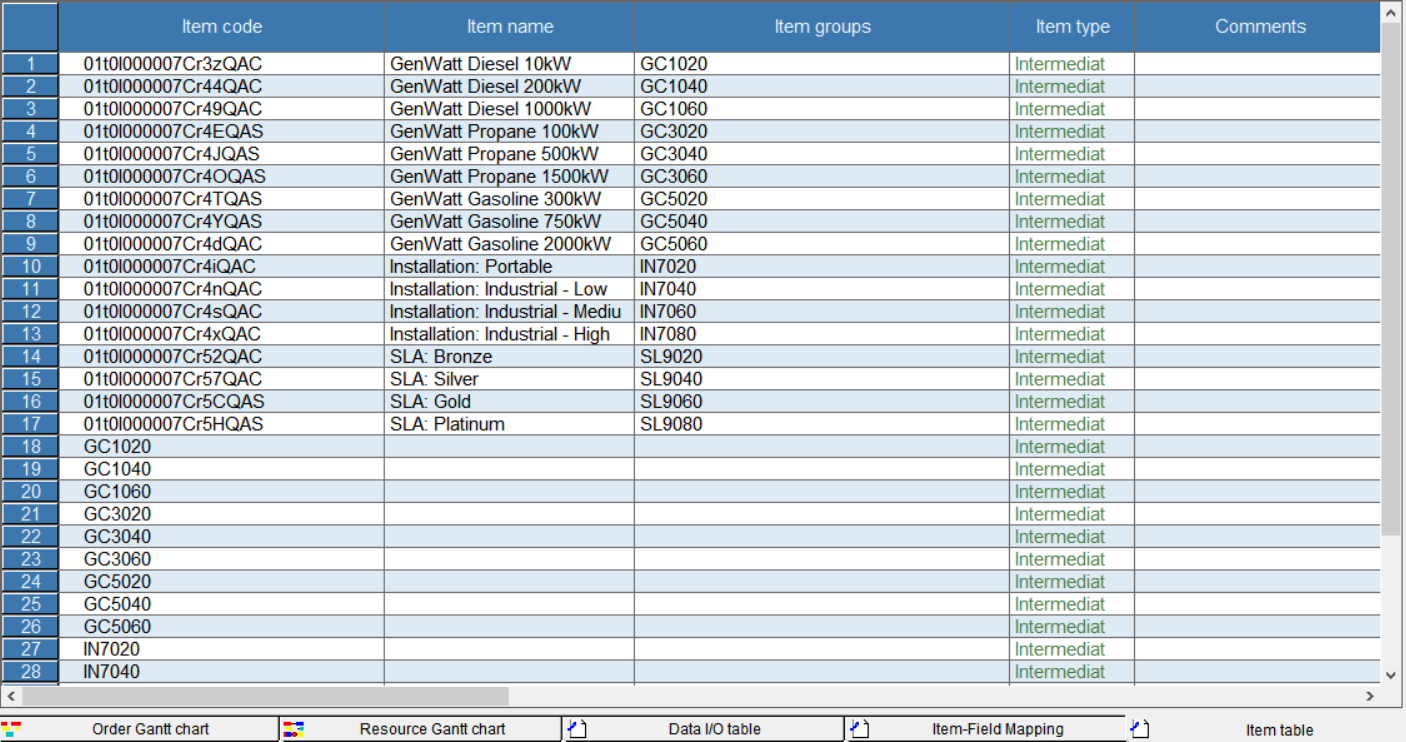
Click Table View > Item. Be sure you can see the item data stored in SAP.
