Model Context Protocol (MCP) finally gives AI models a way to access the business data needed to make them really useful at work. CData MCP Servers have the depth and performance to make sure AI has access to all of the answers.
Try them now for free →Connect to SharePoint from Asprova with CData ODBC Driver for SharePoint
This article shows how to connect faster to SharePoint data from Asprova.
The CData ODBC driver for SharePoint enables you to access SharePoint data from Asprova. In this article, you will import SharePoint data into item data in Asprova as an example.
About SharePoint Data Integration
Accessing and integrating live data from SharePoint has never been easier with CData. Customers rely on CData connectivity to:
- Access data from a wide range of SharePoint versions, including Windows SharePoint Services 3.0, Microsoft Office SharePoint Server 2007 and above, and SharePoint Online.
- Access all of SharePoint thanks to support for Hidden and Lookup columns.
- Recursively scan folders to create a relational model of all SharePoint data.
- Use SQL stored procedures to upload and download documents and attachments.
Most customers rely on CData solutions to integrate SharePoint data into their database or data warehouse, while others integrate their SharePoint data with preferred data tools, like Power BI, Tableau, or Excel.
For more information on how customers are solving problems with CData's SharePoint solutions, refer to our blog: Drivers in Focus: Collaboration Tools.
Getting Started
Asprova setting
-
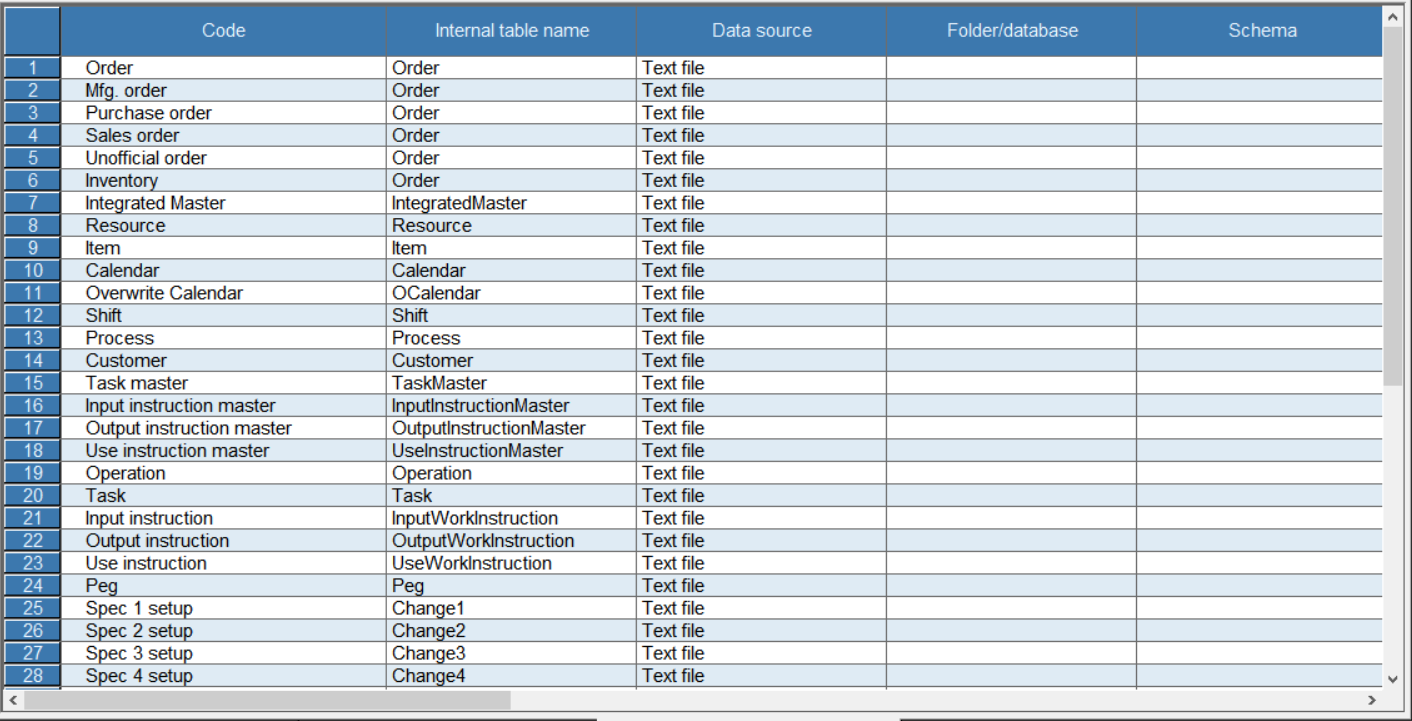
Click File -> Data I/O Settings.
![DataIO]()
-
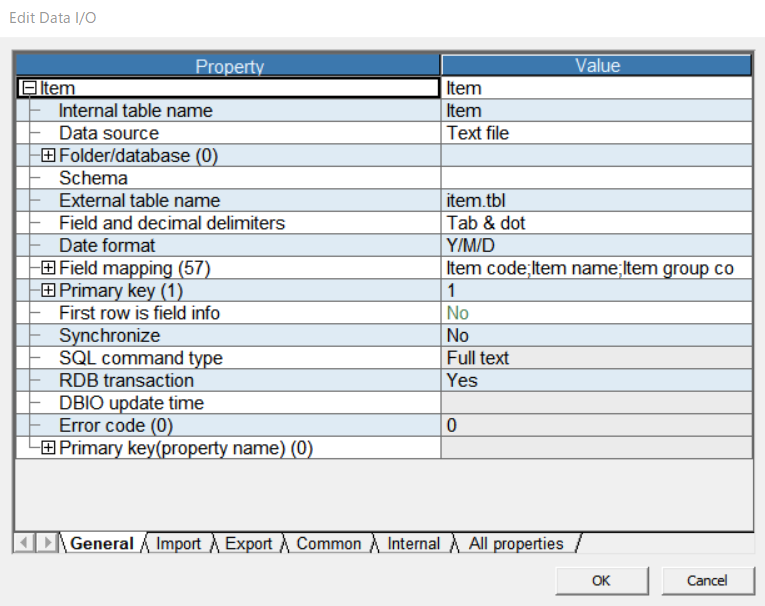
Double click the header of Item and open the Edit I/O dialog.
![DataIO]()
-
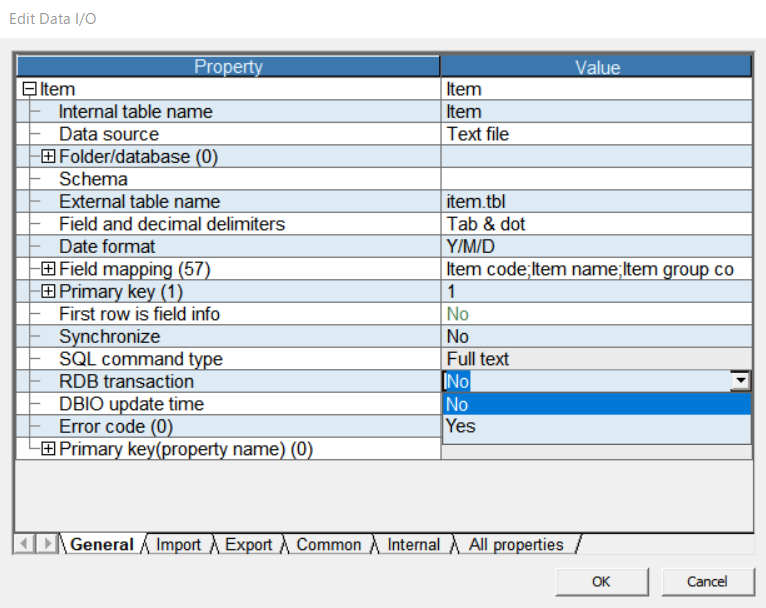
Select "No" from the RDB transaction combo box and close the dialog.
![DataIO]()
Data driver setting
-
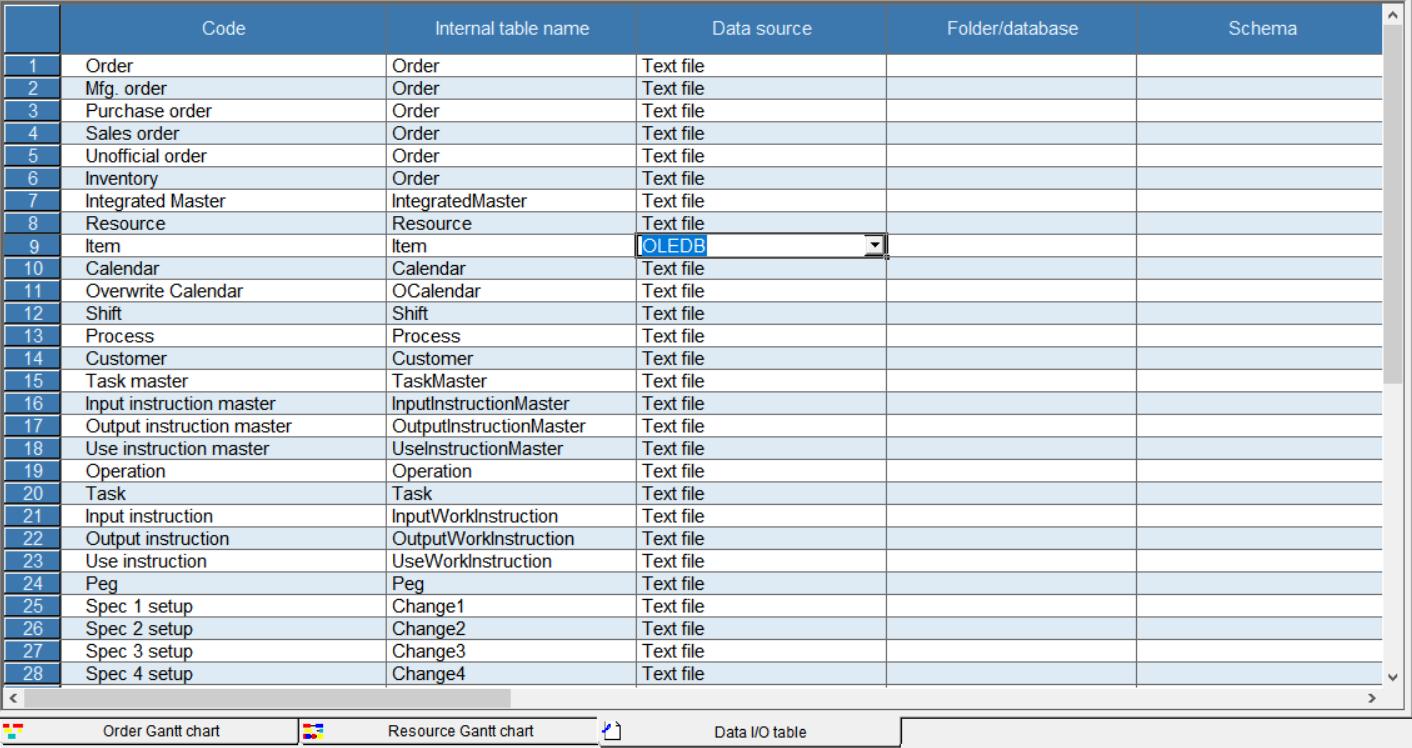
Select "OLE DB" from combo box in "Data source" column.
![DataIO]()
-
Click button in Folder/database column and open the Data Link Property dialog. Select "Microsoft OLE DB Provider for ODBC Drivers" from the list of data provider.
-
Select the Connection tab. Check "Use data source name" and select "CData SharePoint Source" from DSN combo box.
-
Click the Test Connection button and make sure you see the message "Connection successful".
Schema setting
-
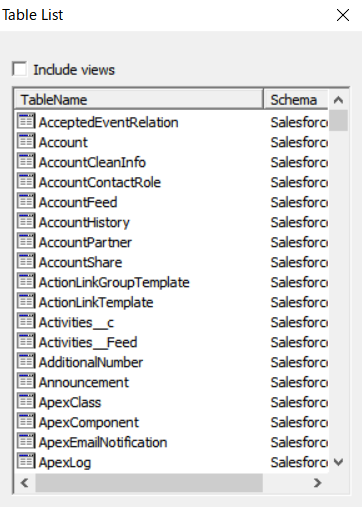
Click the button in "External table name" column and open the Table List dialog. Make sure tables in SharePoint are listed in the dialog.
![DataIO]()
-
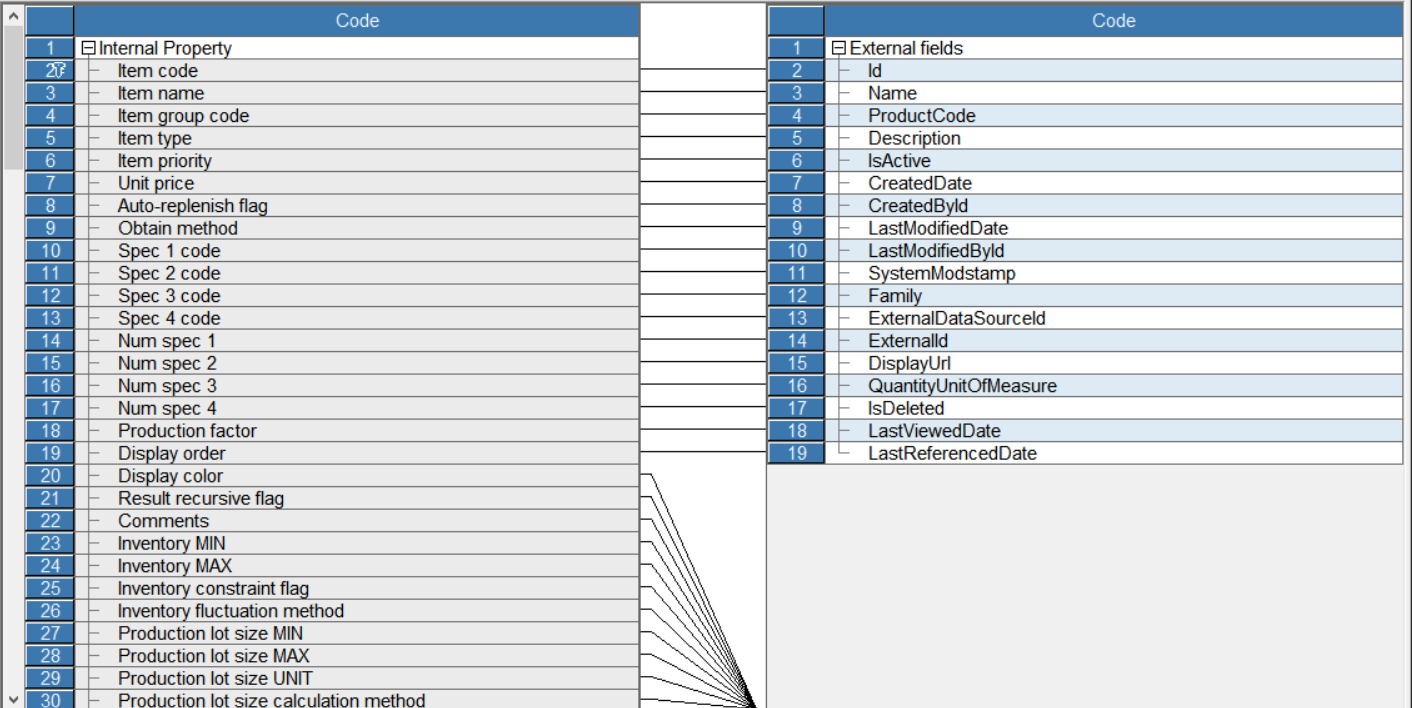
Click the button in "Field mapping" column and open the Item-Field Mapping dialog.
![DataIO]()
-
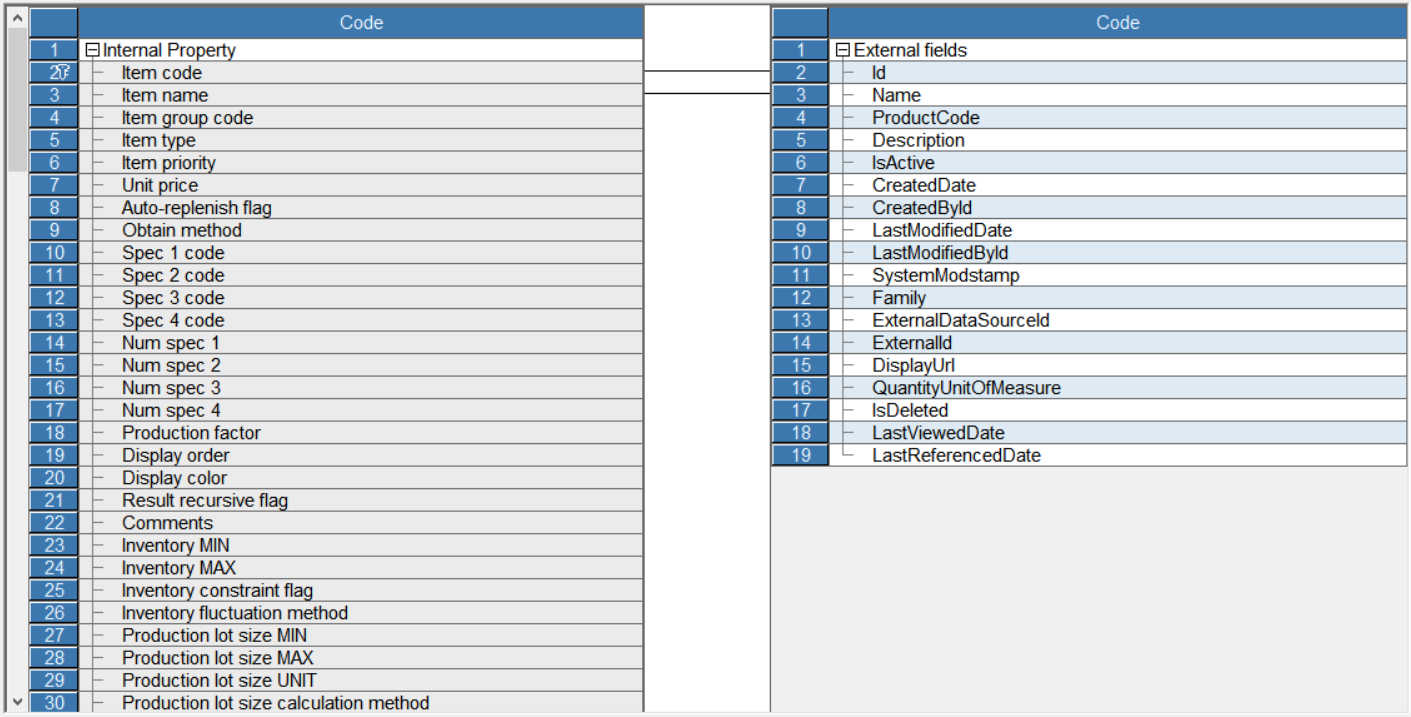
Open the context menu in the space between tables and click Delete All. Link corresponding fields by dragging mouse.
![DataIO]()
-
Click File > Import and data will be imported into Asprova.
Check data
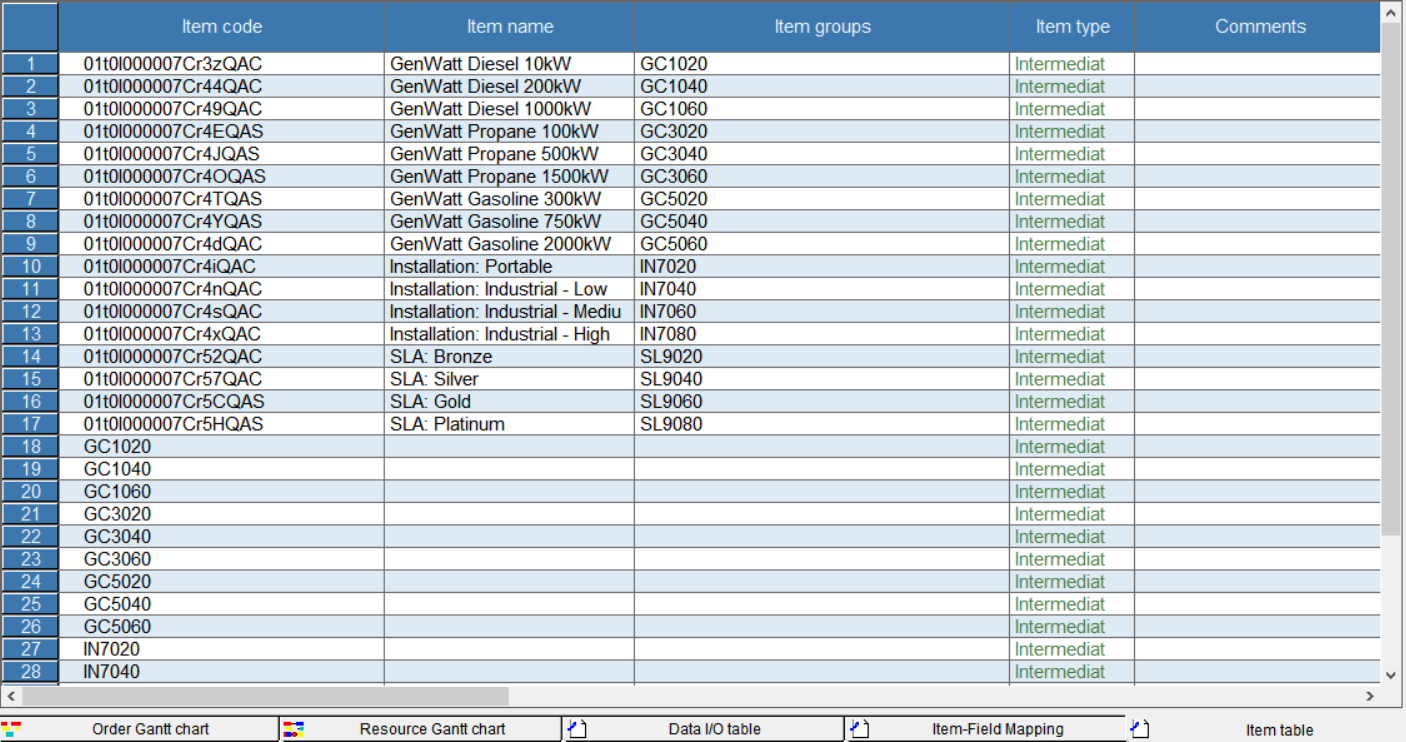
Click Table View > Item. Be sure you can see the item data stored in SharePoint.
